
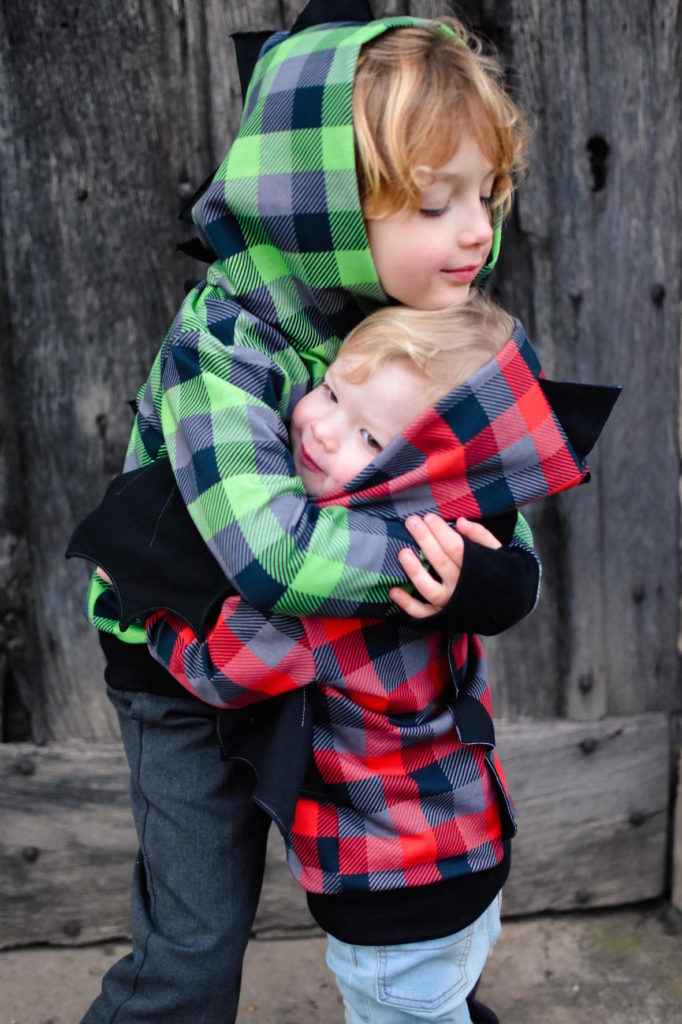
Mother of Dragons

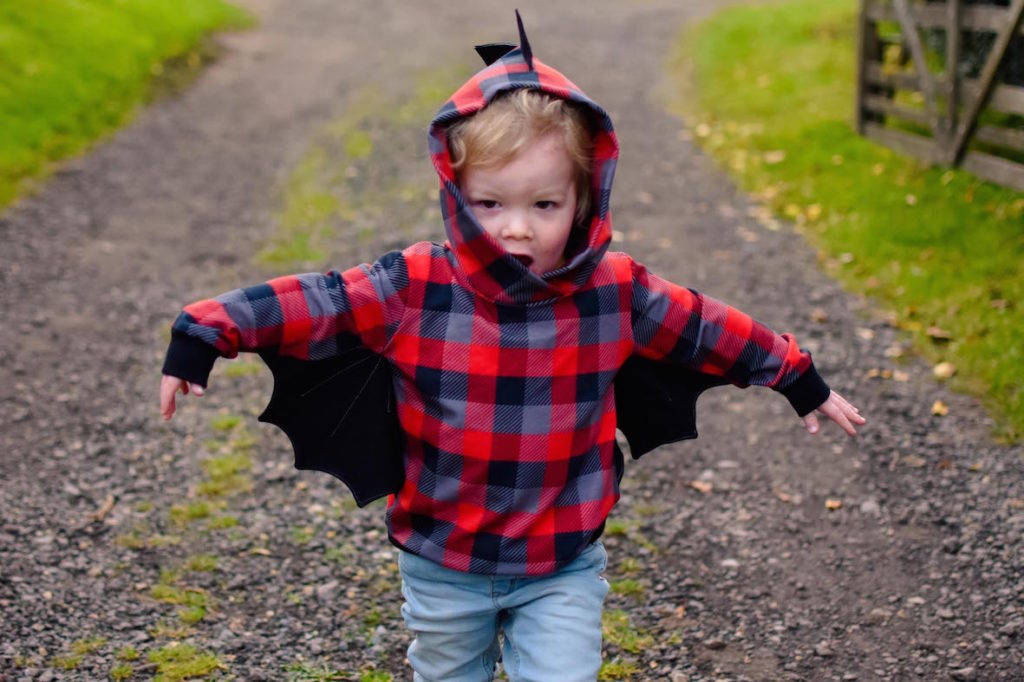
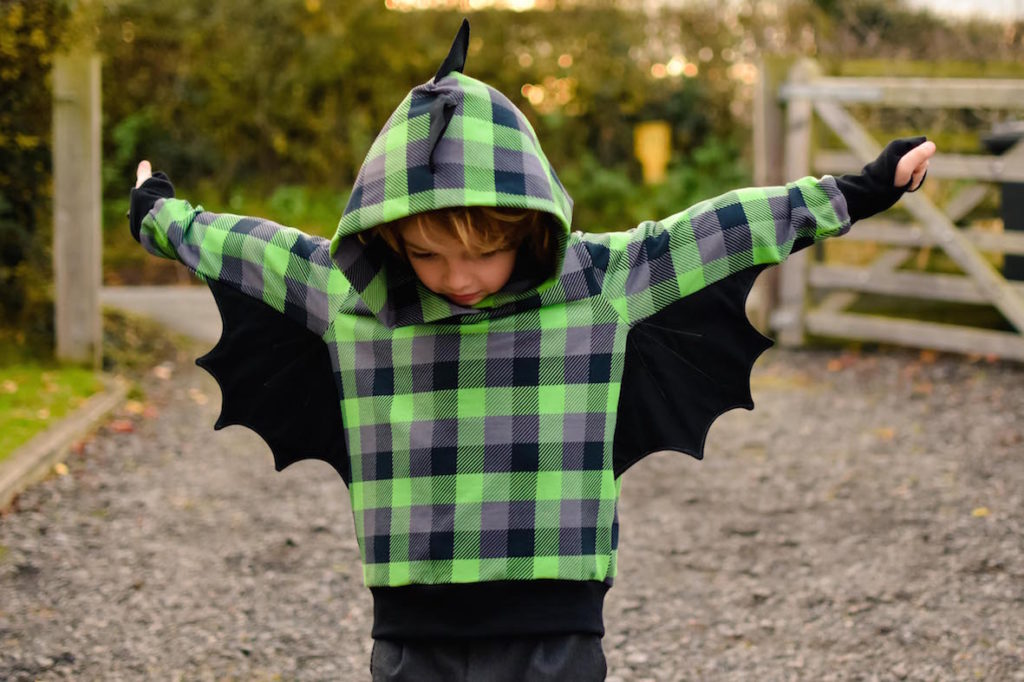
Out of the 4 Animal Appliqués, my boys definitely like the dragon the best. I’m ok with that because if they’re dragons that makes me the Mother of Dragons. Now if only my hair were as awesome as Daenerys’…
The dragon is a little more fiddly than the other three, but still not complicated. The spikes can be added to an existing hoodie if you don’t have time to make one from scratch.
SUPPLIES
- the Animal Applique pattern
- the Hot Chocolate pattern or another similar hoodie.
- Contrasting jersey for your wings.
- Contrasting felt, terry or jersey for your spikes. (Note: if using felt, make sure it is a type that can be laundered.)
- Matching interfacing for your spikes (not required if using felt).
METHOD
-
-
- Print pages 2, 3, 6, 7 and 10.
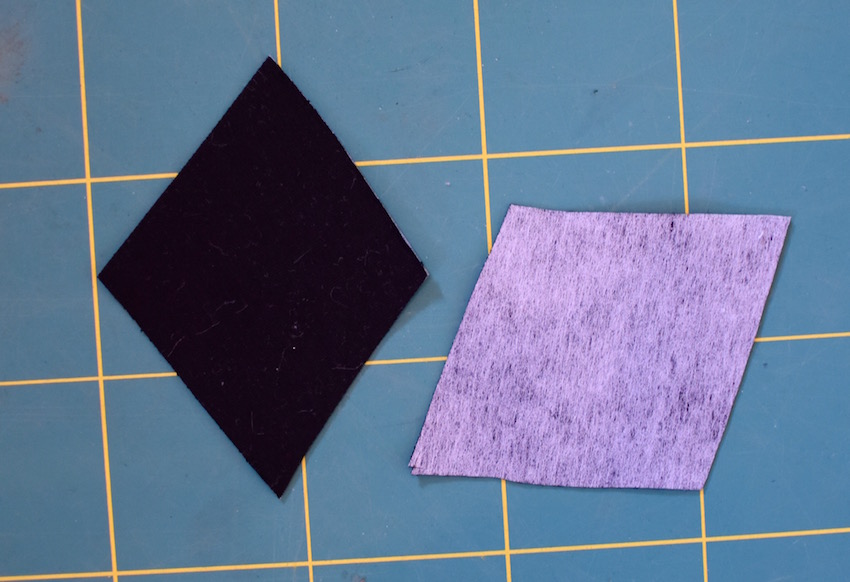
- Cut your spikes. For most sizes, if using the correct size spike you will need 4 for the body and 4 for the hood. For the largest sizes you will need 5 or 6. You could also mix the sizes using some large and some small.
- Apply interfacing to the back of each spike. NOTE: I am using white interfacing here to make it clear in the photos. I would recommend using a dark interfacing with dark fabrics as you will just be able to see it when sewn up. If you do not have a close match with your interfacing then I would recommend trimming 6mm (1/4″) from your interfacing before applying it to your fabric.
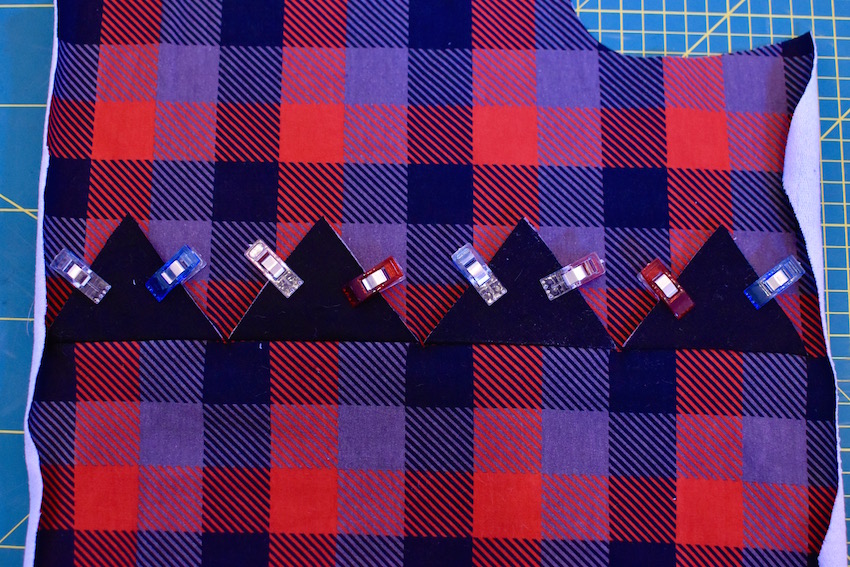
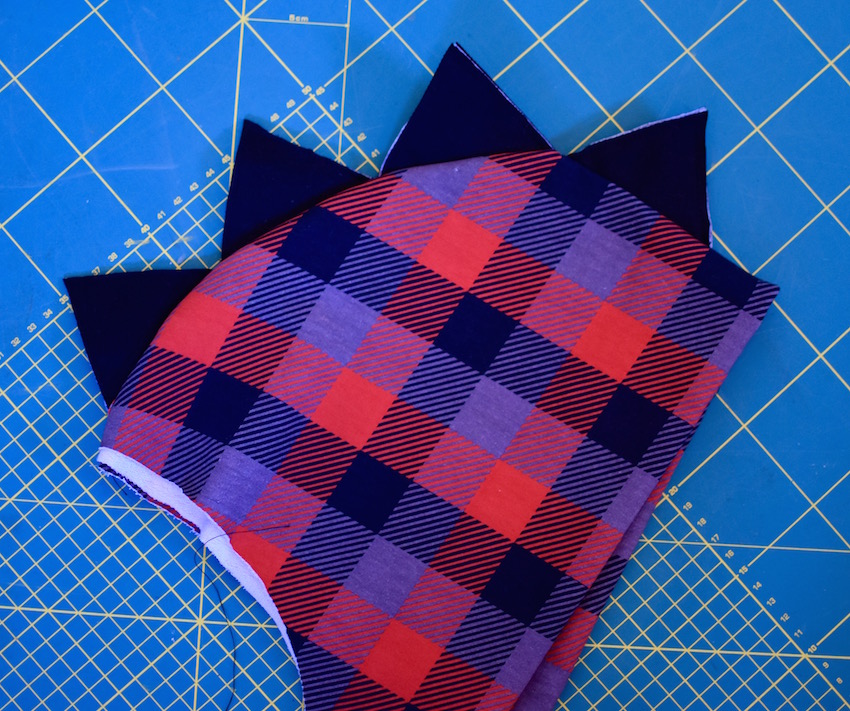
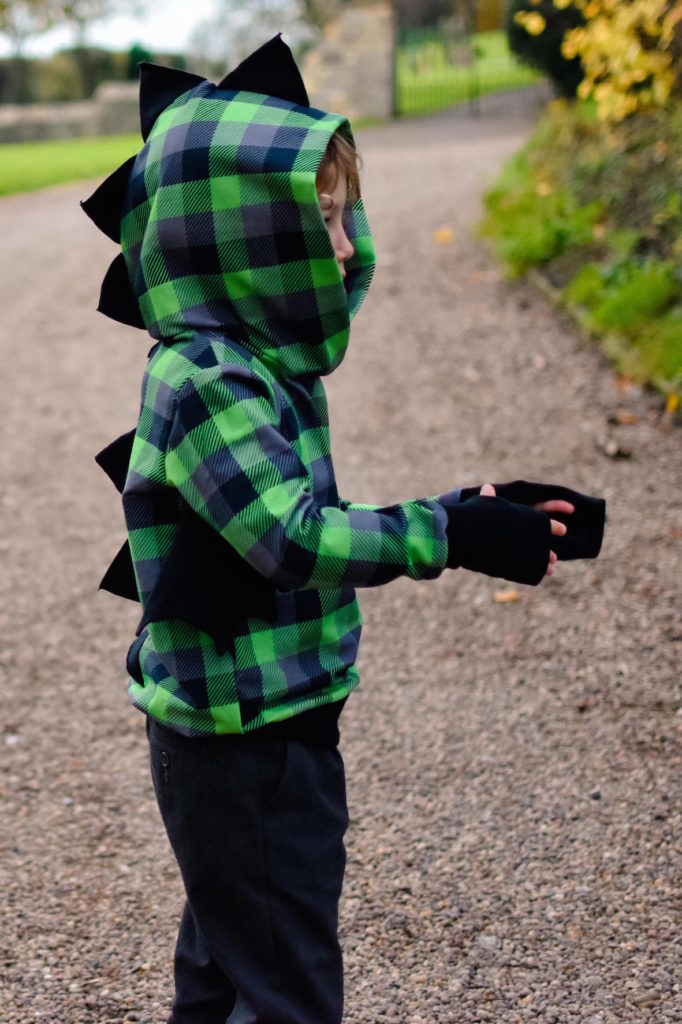
- Draw a line down the centre of your back hoodie piece. (My fabric kindly already has a line I can use!) Place your spikes along this line so that the centre of each spike (where you will later fold) is along the line and each spike just touches the next. Sew down the line using a stretch stitch or straight stitch. Make sure to secure your thread well at the beginning and end.

- Fold each spike in half and press. Sew the two layers of the spikes as close to the edge as you can neatly sew, using a medium, short stitch.
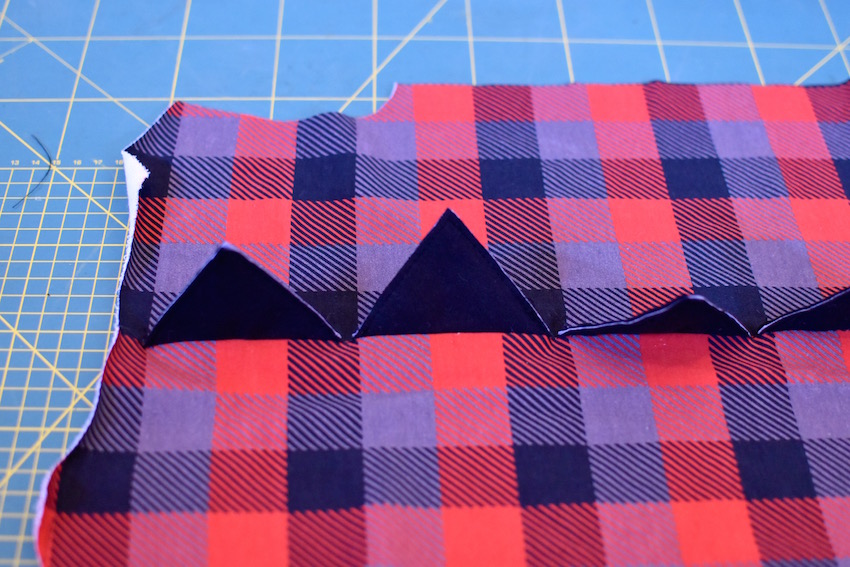
- Repeat the process to add spikes to your hood.
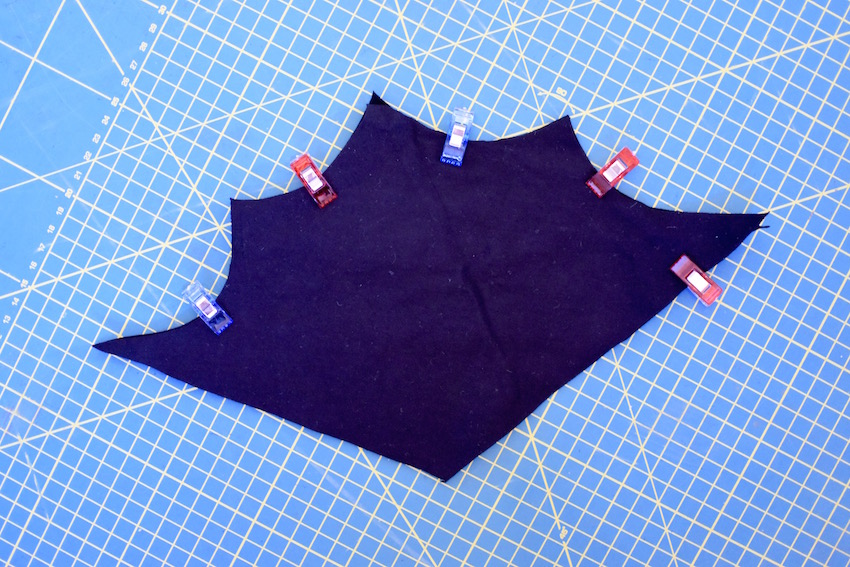
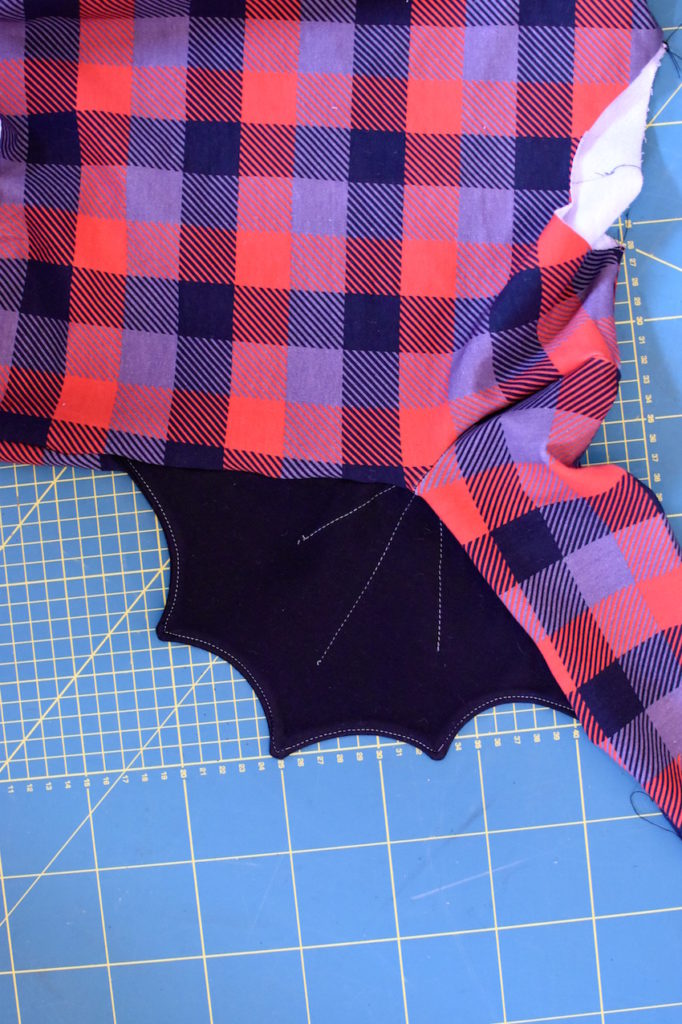
- Place two wings, right sides facing and pin. Sew along the curved edges using a 6mm (1/4″) seam allowance. Leave the two straight edges un-sewn. Clip the corners well and turn the right way out. Repeat for the second wing. (Note – the wings are quite pointy which makes decent point when you turn and topstitch challenging. If you prefer, you could create your wings by simply sewing two pieces together, wrong sides facing, similar to the spikes.)
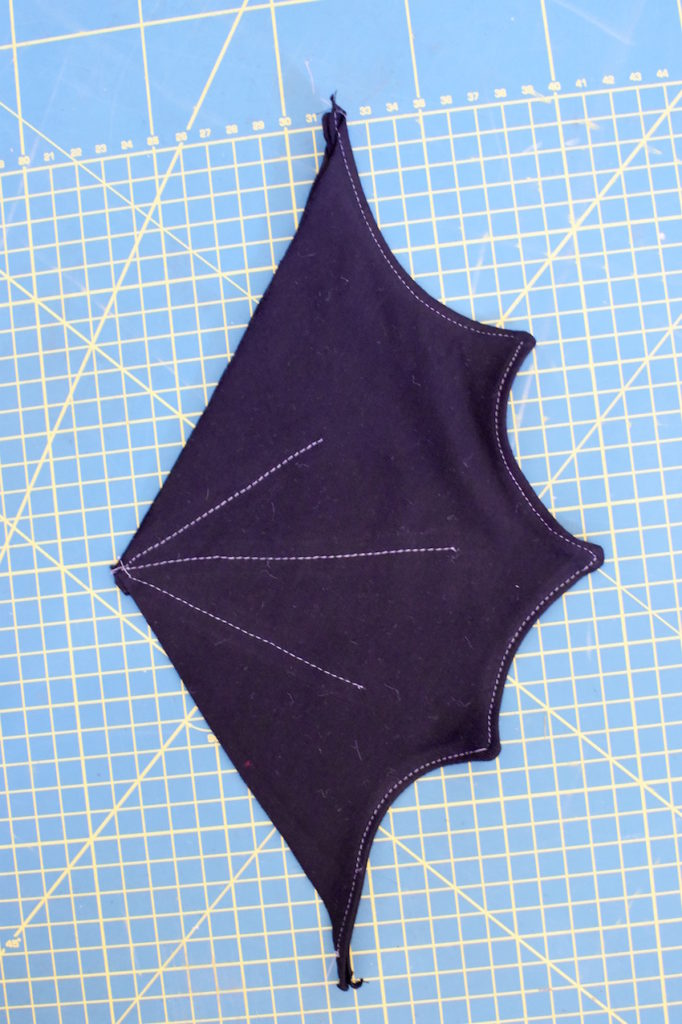
- Press an topstitch around the edge of each wing. Sew three lines from the base of each wing towards the points, using the pattern piece as a guide.
- Sew your Hot Chocolate hoodie using the pattern instructions, stopping once your have attached the sleeves and before you sew the side seams.
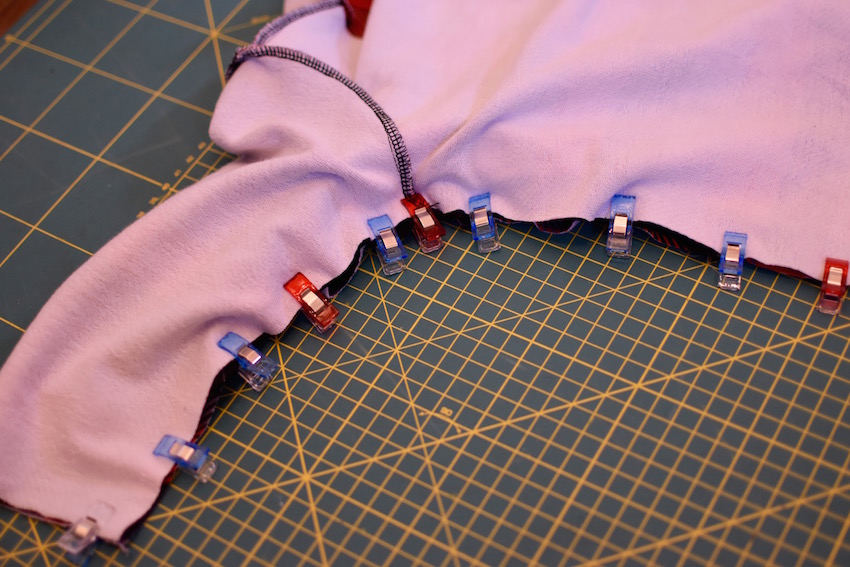
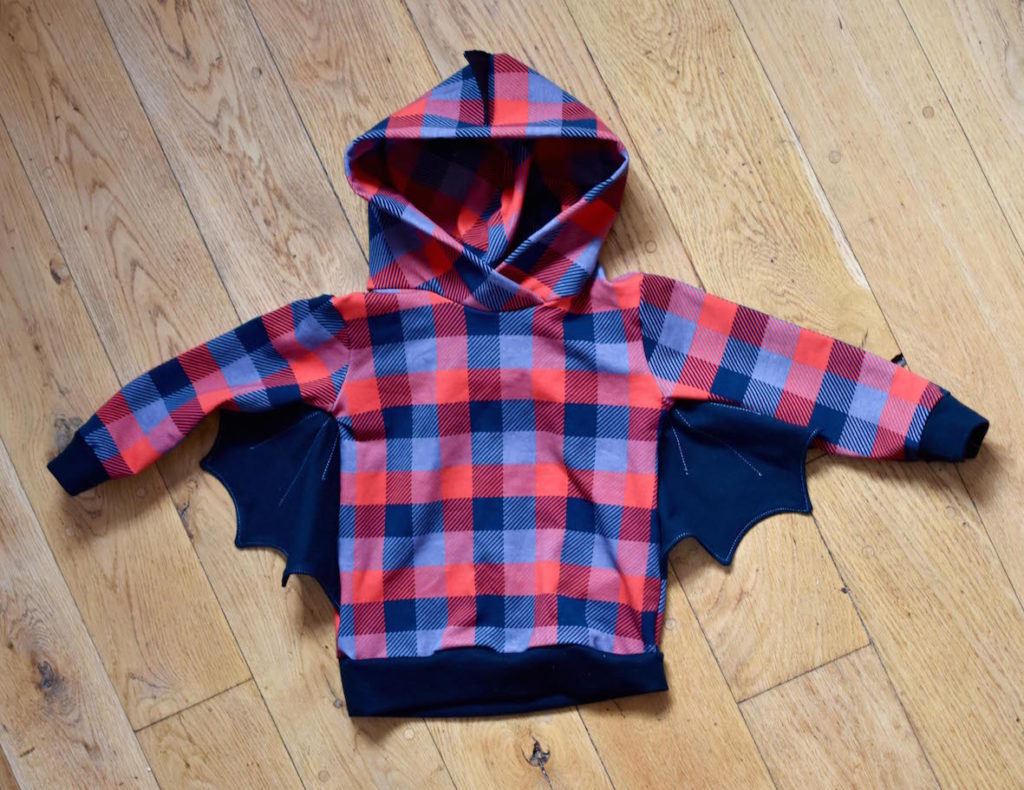
- Sandwich one wing between the two layers of your hoodie. One straight edge of your wing will be between the two arm layers and the other straight edge of the wing will be between the two body layers. The point at the base of the wing goes in the armpit. It will not lie flat at the point, just take your time and pin carefully. Your hoodie will be right sides facing with the wing in the middle. Sew along the arm and the side in one go. Repeat for the other side.
- Continue to sew your hoodie as usual but omitting the back neck facing.There is a tutorial for thumb hole cuffs which works wonderfully with this pattern and it can be found here.
-
Hi there,
For weeks I have been looking at a dungaree pattern which was an actual copy and it was £15, is it still available? I’ve finally been paid but no printer xx