Leaving Your Mark


Finding a mark on fabric can really put a downer on your sewing project. But making a mark can be useful in so many different ways.
Let’s look at when and where you might create a mark on the garment you’re making, and also what you could use to make those marks…including the pros and cons of each marking tool.
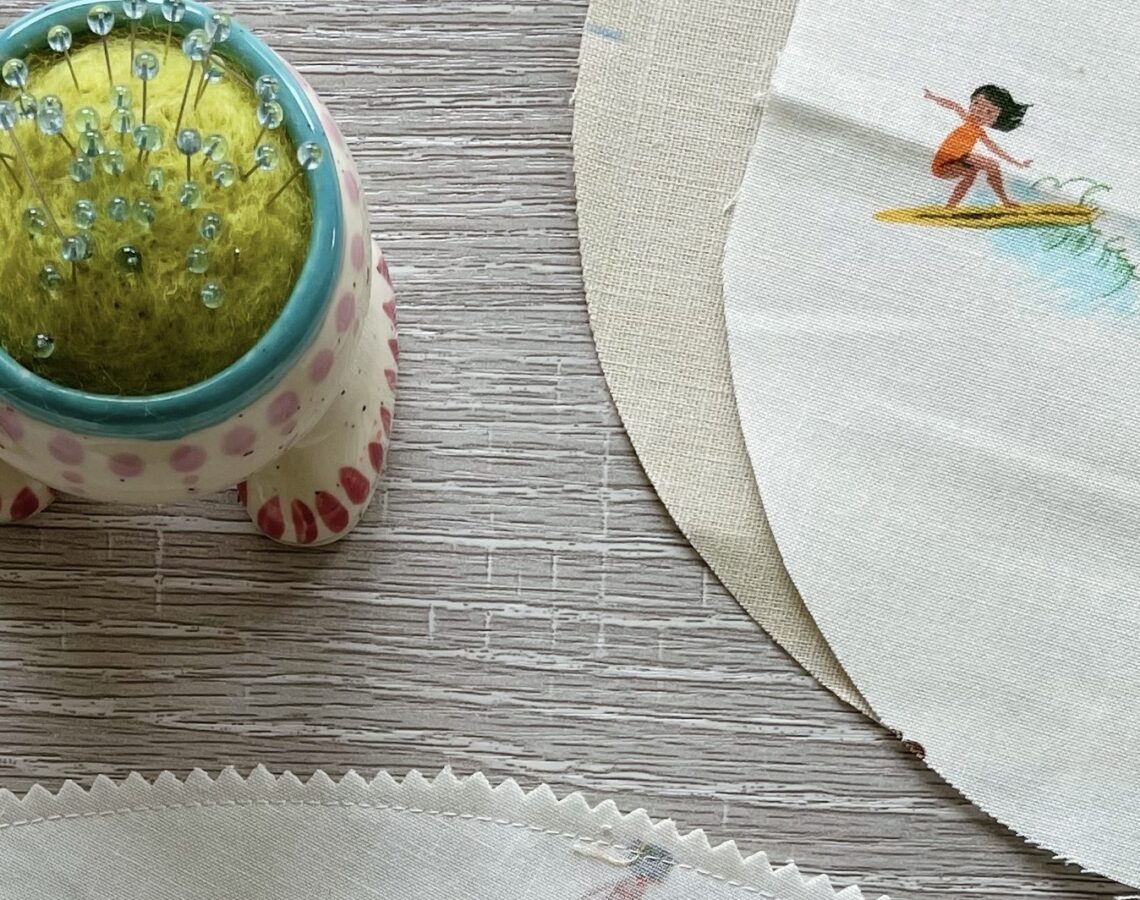
Before you decide which tool you’re going to use to mark the fabric, it’s important to consider where the mark will be. For example, if it’s in an area that will be hidden or cut off once the garment is finished then it’s not as important that the marks will easily wash away.
These are the most common times you’ll need to mark fabric whilst making a Waves & Wild garment or accessory:
Now let’s have a look at some different fabric marking tools and techniques, including pros and cons of each one and when they might be the most suitable choice.
These soft chalk pencils often come in a variety of colours (usually white, grey, yellow, pink and blue) and a set of them might also include a pencil sharpener and little brush to help rub away the lines. They are very similar to the traditional triangle-shaped tailors chalks.
Chalk pencils are great for any of the marking tasks already mentioned because they are easy to remove and the variety of colours mean you can choose the one most suitable to the fabric colours you’re working with.
The only downsides are that they need sharpening often to keep the tip sharp, and can sometimes drag a little when drawing on stretch fabric.
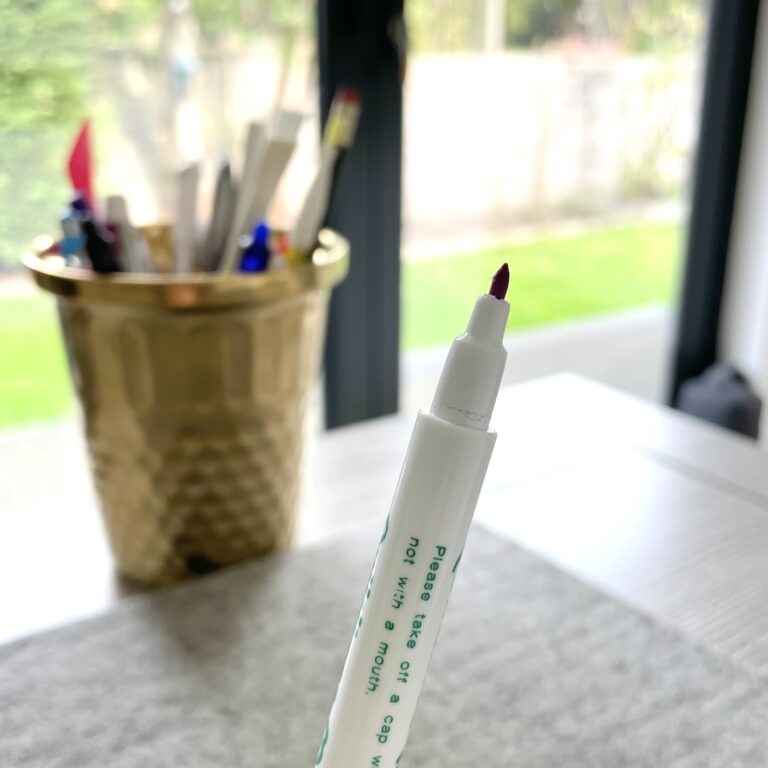
This is a felt-tip/texta style pen (there are many brands/varieties) that can be washed away. You could use a regular washable pen as a non-sewing alternative but the benefit of this type of pen that has been specifically designed for fabric is that these wash away but often also fade away after a few days too.
Ink pens are great because they go onto all fabric types more smoothly than pencils. They also produce an even and fine line. However I’d try to only use them on the wrong side of fabric or in a place that will be covered up or cut off.
The downside to ink pens are that they use ink! Even if it says “washable” I would always recommend being cautious. Test it doesn’t bleed, test it washes out, and check there’s no shadow mark left behind after washing.
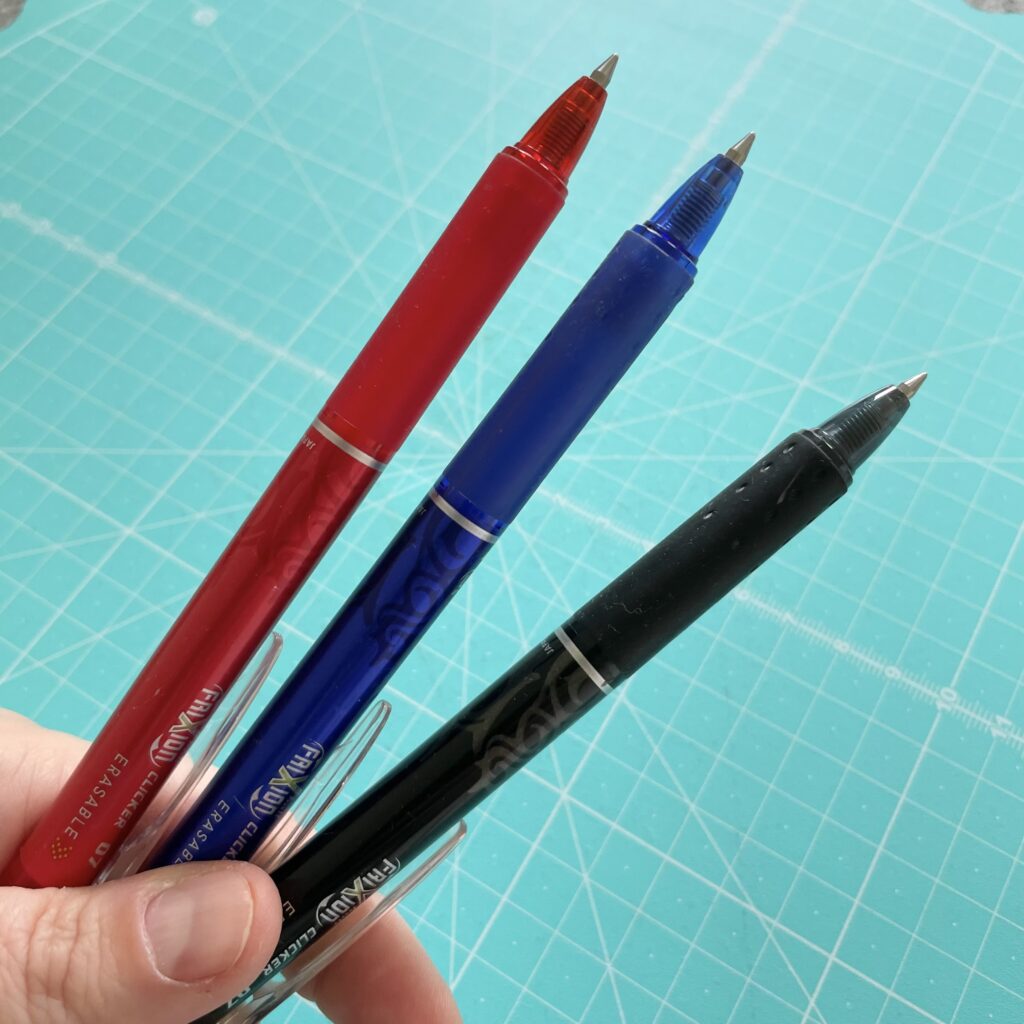
The best known heat erasable pens are Pilot Frixion and they have become very popular in the sewing world.
Frixion pens are biro/ball point-style which means they create a very fine line, go on smoothly, come in a variety of colours and ink refills are available. Ironing over the lines makes the marks disappear.
I’ve called them heat “erasable” because the reality is that they are not totally erased. What the heat actually does is makes the drawn line invisible but the line is still there. This means that if the lines are exposed to a very cold environment then they will come back, and on some fabrics a shadow mark is left behind even after ironing. As there is a risk that the lines won’t permanently disappear, I’d try to only use them on the wrong side of fabric or in a place that will be covered up or cut off.
This is a simple technique rather than a tool but don’t discount how useful creating a crease can be.
Creases work in all fabric types but do usually stay longer in woven fabric. You can create a crease by folding over the fabric and firmly pressing the fold with your finger. Using a hard surface underneath works best.
Although creases can be more temporary than pens (and you might accidentally iron them out before you’ve finished using them) they are great because there’s no worry about them not disappearing after a project is done, and you don’t need any extra tools to create them. I would only recommend using creases to mark notches on the edge of pattern pieces.
This site uses Akismet to reduce spam. Learn how your comment data is processed.
| Cookie | Duration | Description |
|---|---|---|
| cookielawinfo-checbox-analytics | 11 months | This cookie is set by GDPR Cookie Consent plugin. The cookie is used to store the user consent for the cookies in the category "Analytics". |
| cookielawinfo-checbox-functional | 11 months | The cookie is set by GDPR cookie consent to record the user consent for the cookies in the category "Functional". |
| cookielawinfo-checbox-others | 11 months | This cookie is set by GDPR Cookie Consent plugin. The cookie is used to store the user consent for the cookies in the category "Other. |
| cookielawinfo-checkbox-necessary | 11 months | This cookie is set by GDPR Cookie Consent plugin. The cookies is used to store the user consent for the cookies in the category "Necessary". |
| cookielawinfo-checkbox-performance | 11 months | This cookie is set by GDPR Cookie Consent plugin. The cookie is used to store the user consent for the cookies in the category "Performance". |
| viewed_cookie_policy | 11 months | The cookie is set by the GDPR Cookie Consent plugin and is used to store whether or not user has consented to the use of cookies. It does not store any personal data. |
Leave a Reply