
It’s A Kind Of Magic!
Are you ready to learn a magic trick? How about being able to sew a seam closed but make your stitching completely invisible?
W&W patterns don’t often involve hand sewing, but there are times when it is necessary. The most common reason is for closing the turning hole on reversible garments (such as Over It Alls or the Sandcastle Bucket Hat) or lined garments (such as the Woodland Wanderer). Follow these simple steps and you’ll be able to close your turning holes invisibly! If you prefer videos, check out this reel and make sure to save it for future reference.
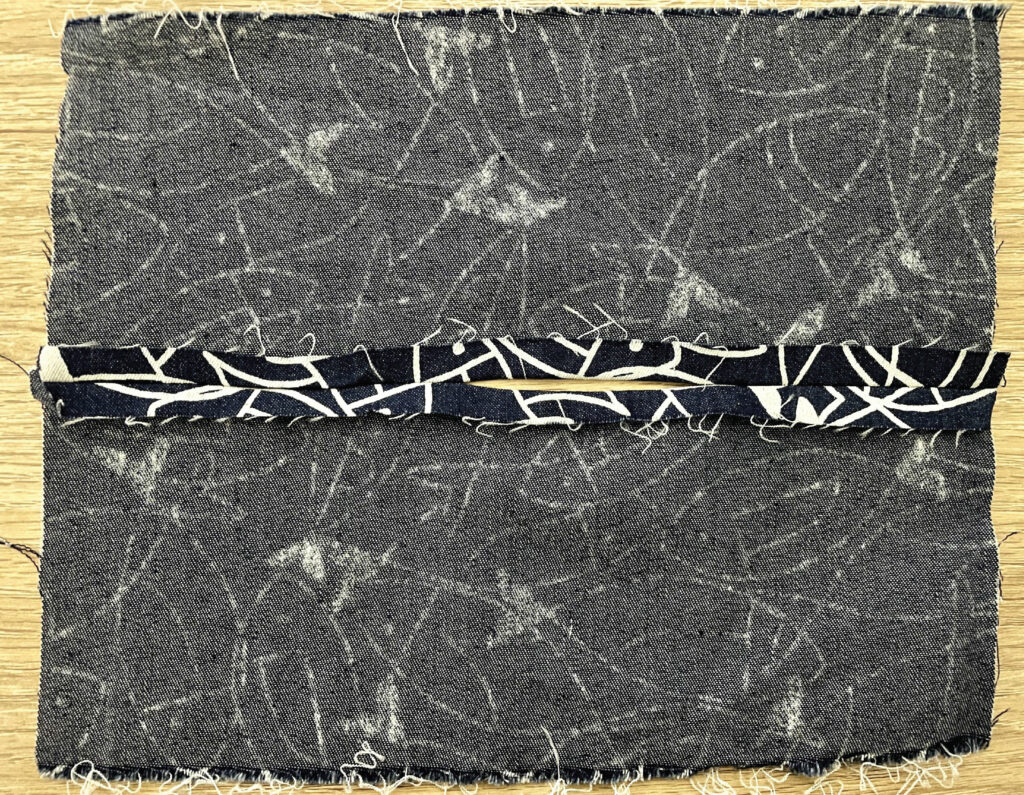
1. Press your seam open. If you can’t press the whole seam open (because you’ve topsitched or sewn with an overlocker etc) then press the seam allowances in just the opening. When you’ve finished, you will have two folded edges ‘kissing’ at the open area and you can see how your fabric will look when the hole is closed.
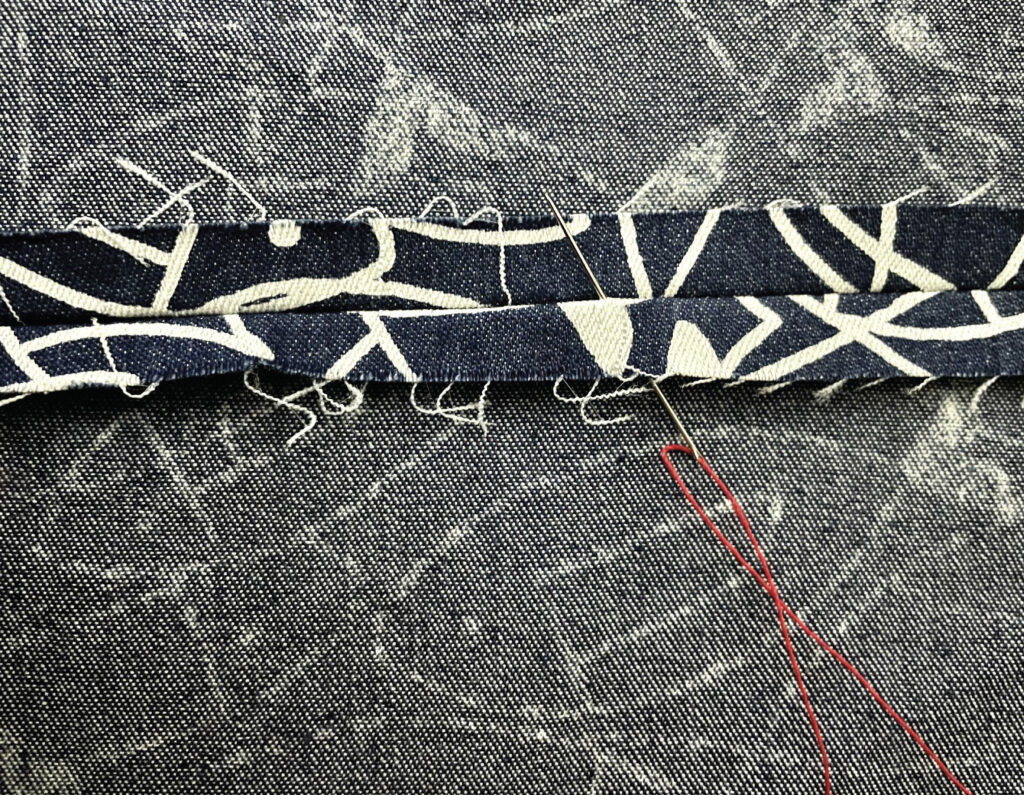
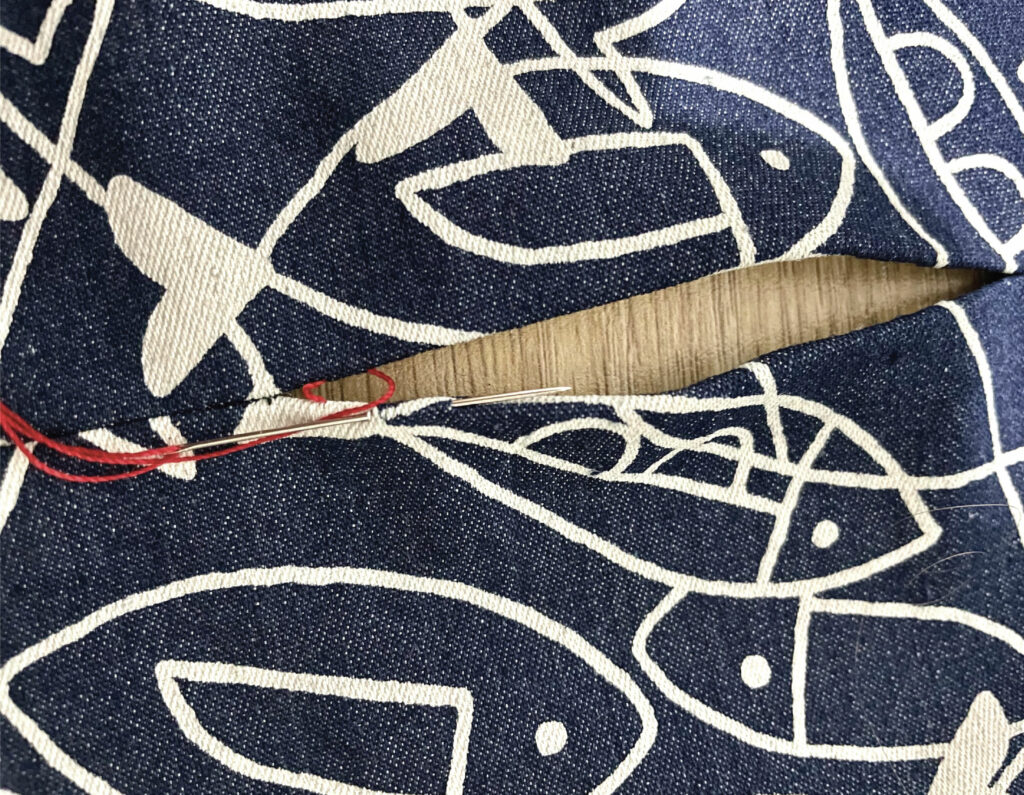
2. Take a fine needle and thread it with colour matching thread. (Note: I am using red thread to make the photos clearer. You should use a colour that blends with your fabric.) Tie a knot in the end of the thread. Poke the needle from the wrong side of your fabric to the right, so that it comes out exactly on the folded edge of your opening. You want to start quite close (around 6mm/¼“) from the start of the opening. Pull your thread through to the right side of your fabric.
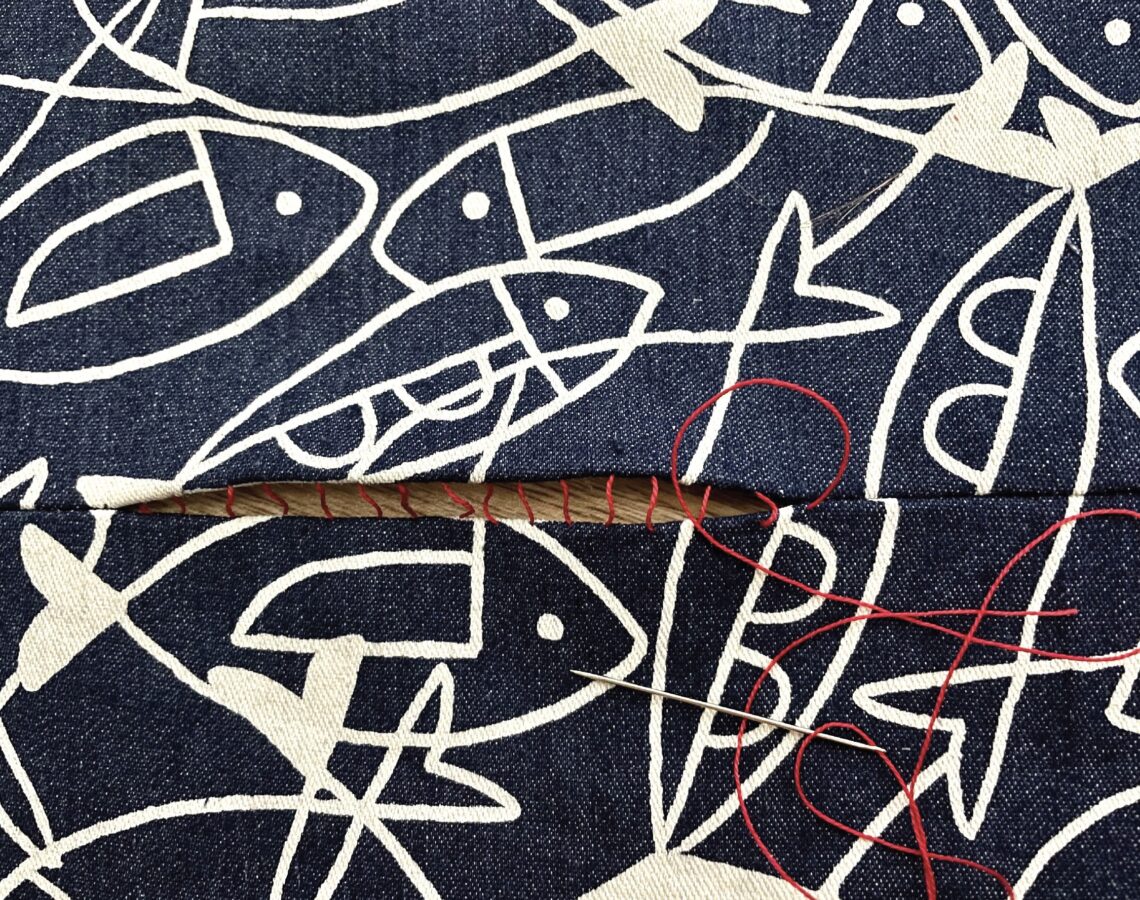
3. Your thread will have just come through one edge of your opening (the bottom edge in these photos). Take your needle to the other edge, directly across the opening. Poke the needle in and out of your fabric, right along the folded edge to make a small stitch. Pull your needle through.
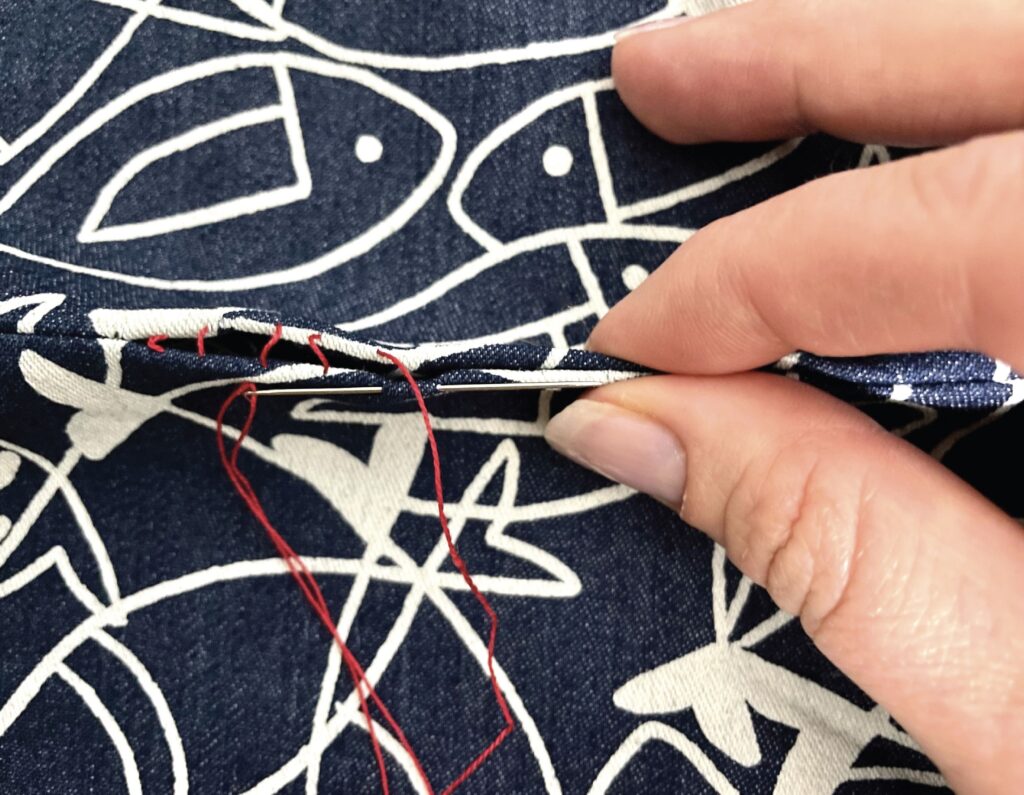
4. Next, take your needle the other side , directly across from where you just finished the last stitch. Poke your needle in and out of the folded edge to create another small stitch. Pull the needle through. Repeat along the length of the opening.
5. You might find it easier to pinch the two edges of your opening together as you work. You can start to see here why it’s called ‘ladder stitch’ as the thread goes from one side to the other in a ladder effect.
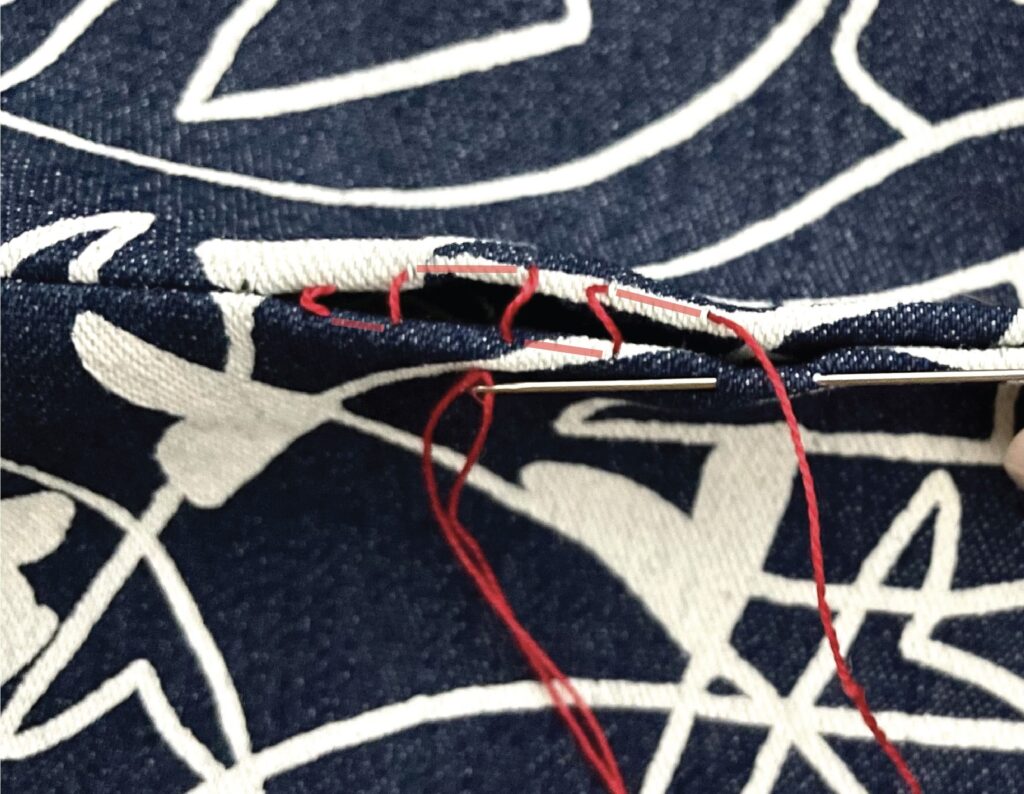
6. The faded sections here show where the thread goes underneath the fabric.
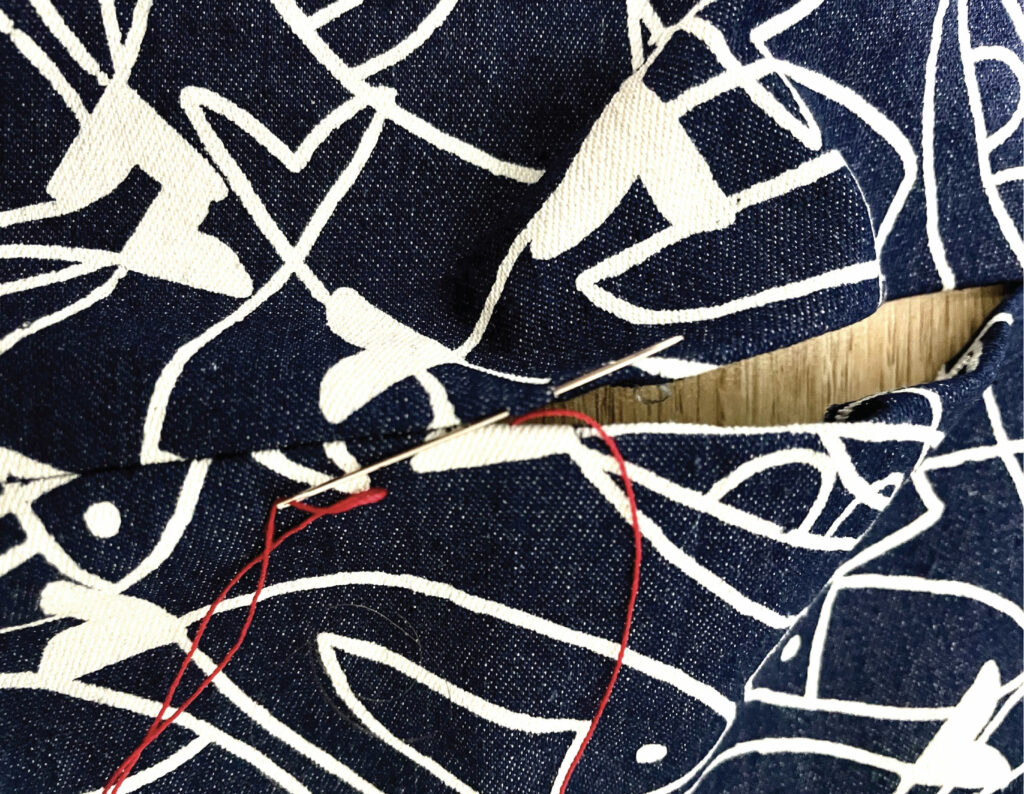
8. Continue until you reach the end of the opening.
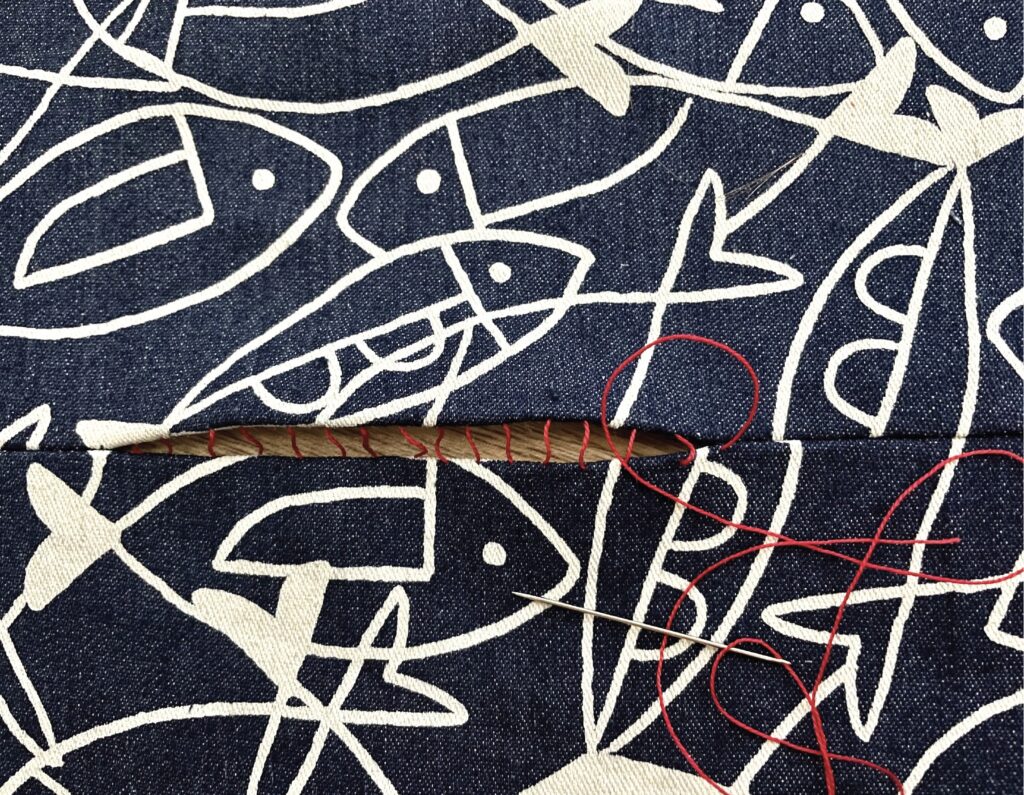
9. Gently pull the thread to close the opening. Take care not to pull it too hard as it will cause the fabric to pucker. Press.
10. Tie a knot to secure your stitching. Poke your needle in and then out a few centimetres (inch or more) away. Pull the thread all the way through and cut as close to the fabric as possible. Your thread should disappear inside your garment.
Voila! Your opening will have disappeared.
This site uses Akismet to reduce spam. Learn how your comment data is processed.
| Cookie | Duration | Description |
|---|---|---|
| cookielawinfo-checbox-analytics | 11 months | This cookie is set by GDPR Cookie Consent plugin. The cookie is used to store the user consent for the cookies in the category "Analytics". |
| cookielawinfo-checbox-functional | 11 months | The cookie is set by GDPR cookie consent to record the user consent for the cookies in the category "Functional". |
| cookielawinfo-checbox-others | 11 months | This cookie is set by GDPR Cookie Consent plugin. The cookie is used to store the user consent for the cookies in the category "Other. |
| cookielawinfo-checkbox-necessary | 11 months | This cookie is set by GDPR Cookie Consent plugin. The cookies is used to store the user consent for the cookies in the category "Necessary". |
| cookielawinfo-checkbox-performance | 11 months | This cookie is set by GDPR Cookie Consent plugin. The cookie is used to store the user consent for the cookies in the category "Performance". |
| viewed_cookie_policy | 11 months | The cookie is set by the GDPR Cookie Consent plugin and is used to store whether or not user has consented to the use of cookies. It does not store any personal data. |
Great seam advice thank you