
Rudolph The Red Nosed Pocket

This tutorial is for a Rudolph themed pocket using the free Animal Appliqué file. I added it to an Adventurer Raglan sweatshirt but it can be used with any sweatshirt pattern you like.
SUPPLIES
- the Animal Applique pattern
- brown/grey minky/jersey
- scrap of black and red jersey/minky
- needle and thread for hand embroidery
METHOD
- Print pages 4, 7, 8, 11 and 12.
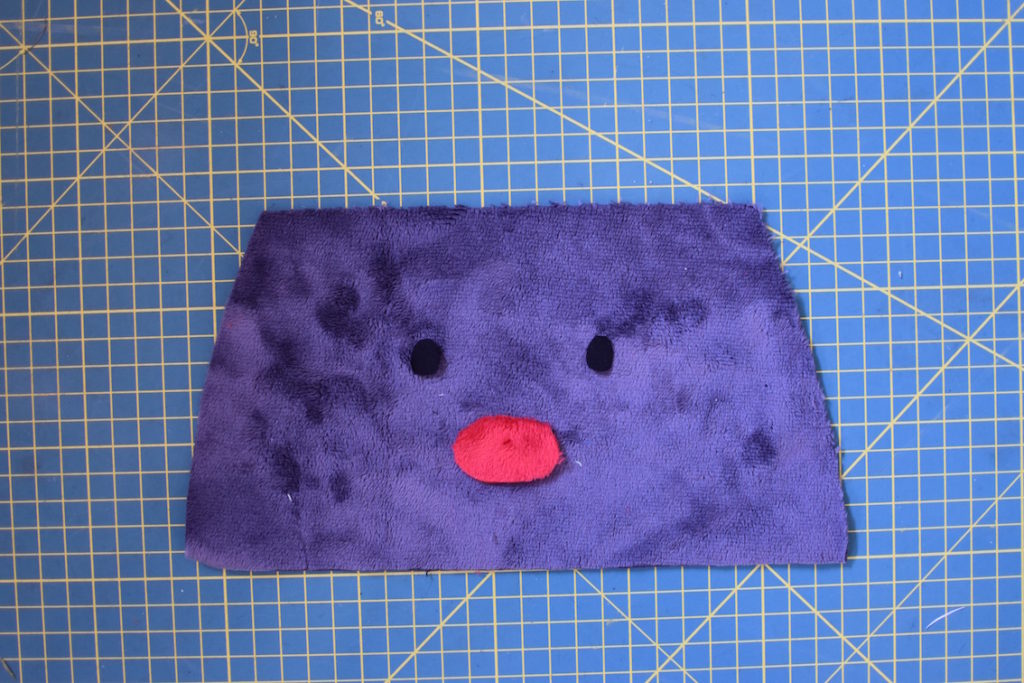
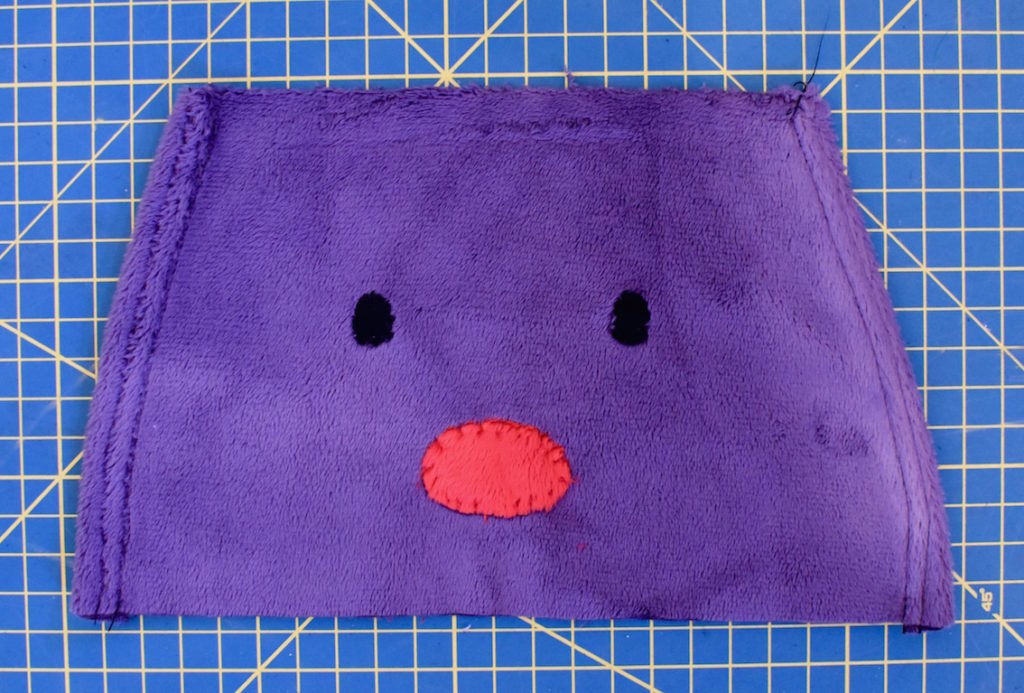
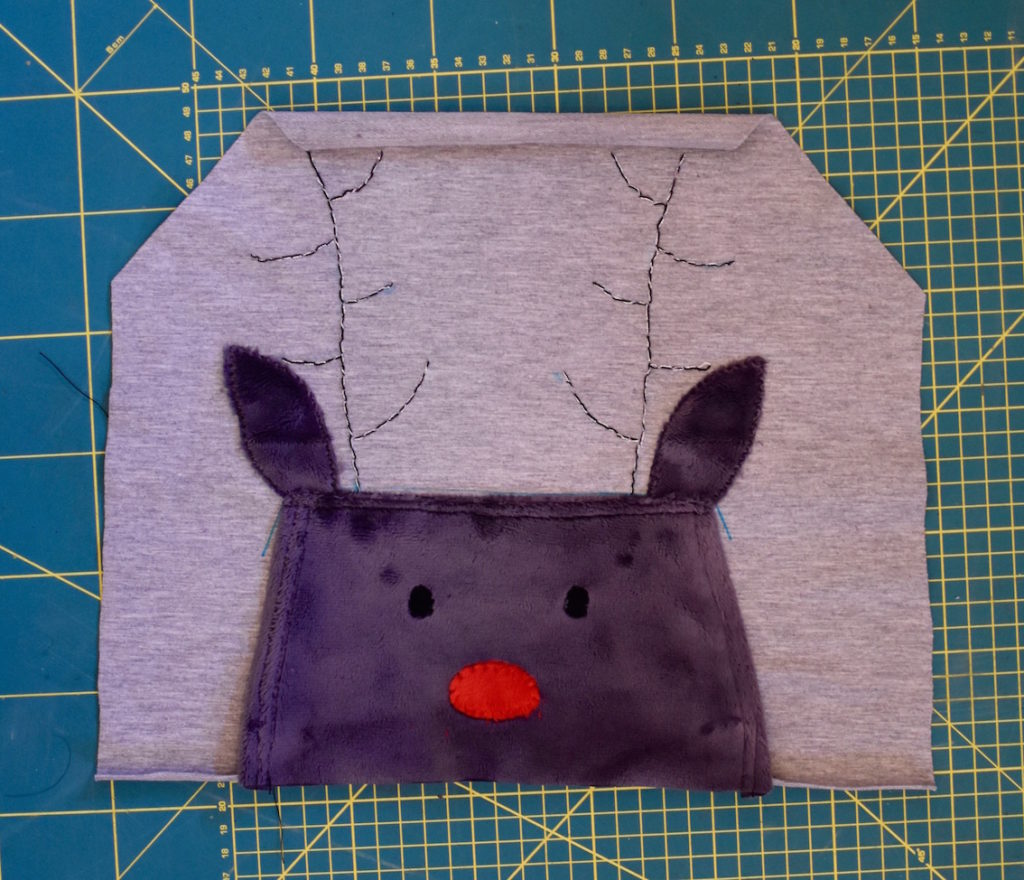
- Cut your pocket, eyes, nose and ears. Place the eyes and nose on the pocket and sew (either using a machine or hand sewing).
- Fold the two short sides under 10mm (3/8″), press and sew using a twin needle.
- Place your pocket on your sweatshirt front and mark where the top falls. (A water erasable pen is one of my favourite sewing room tools, but chalk or pins can also be used.)
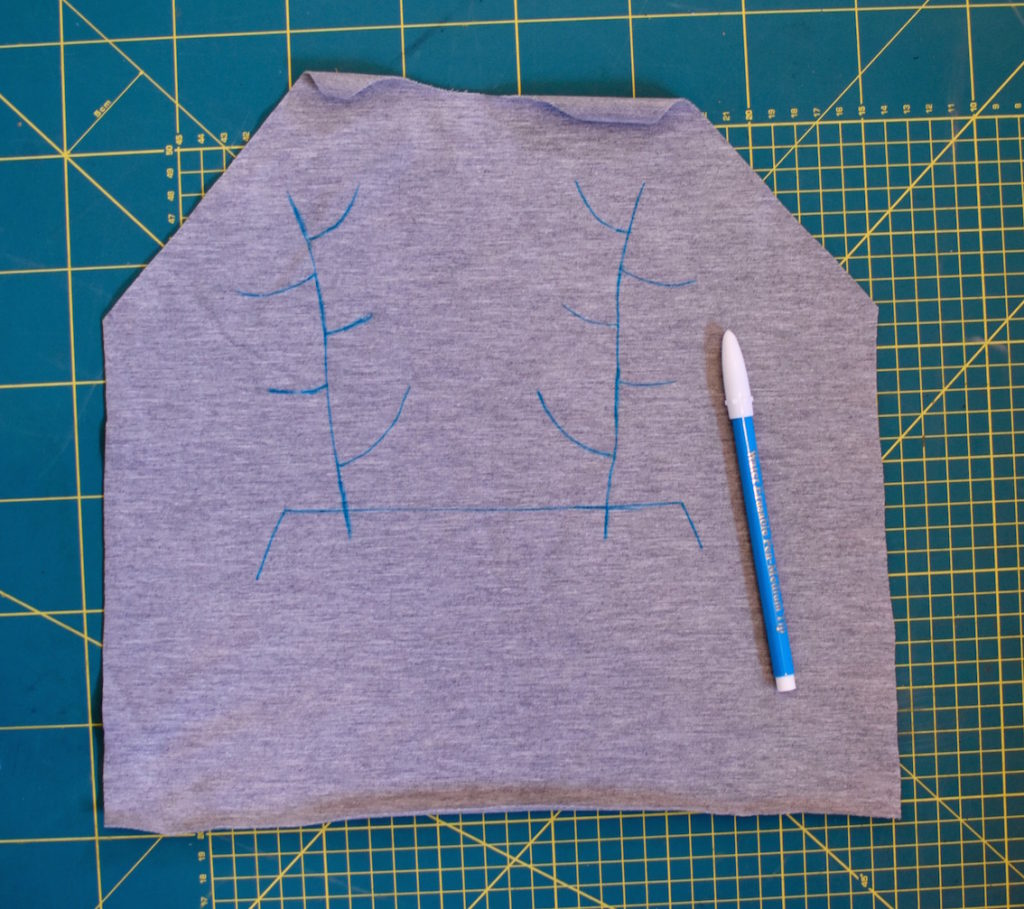
Use the pattern piece to mark your antlers. The antlers should start 6mm (1/4″) or so below the mark for the top of your pocket. Again, I recommend using an erasable pen.
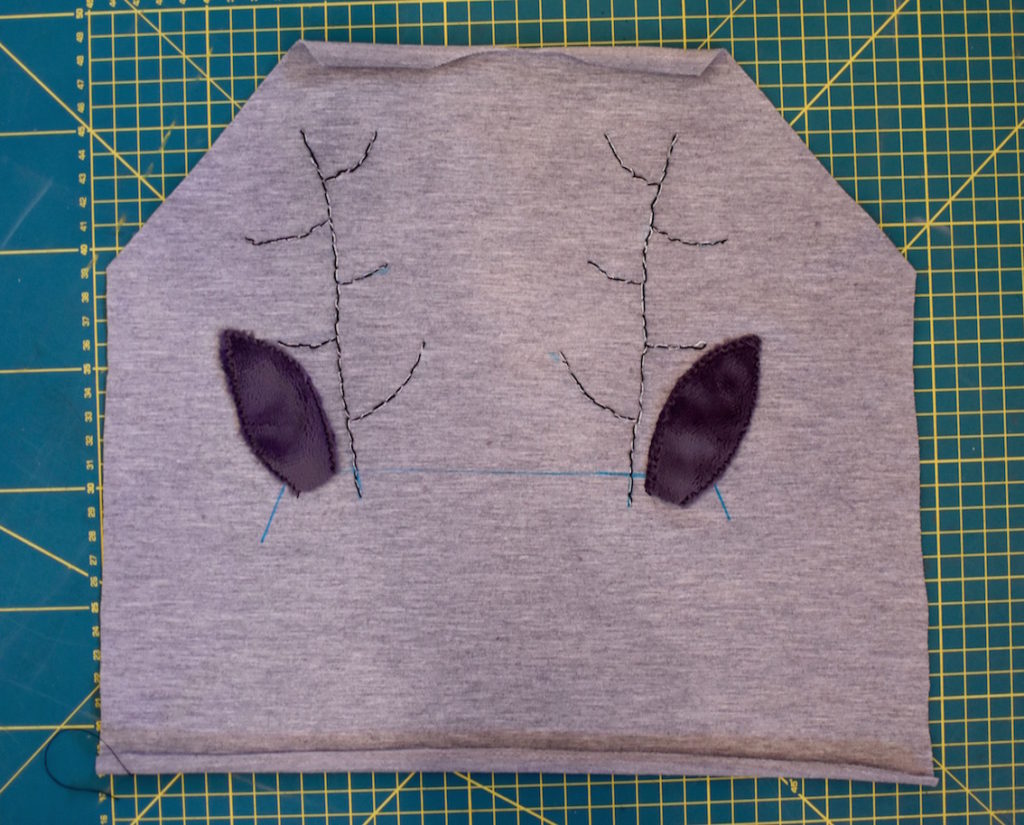
- Hand embroider your antlers. If you’re not a fan of hand embroidery, you could use a machine with thicker thread. Alternatively you could use HTV.
Place your ears on your sweatshirt front. Again, they should start 6mm (1/4″) below the mark for the top of your pocket. Pin and sew using a small zig zag stitch.
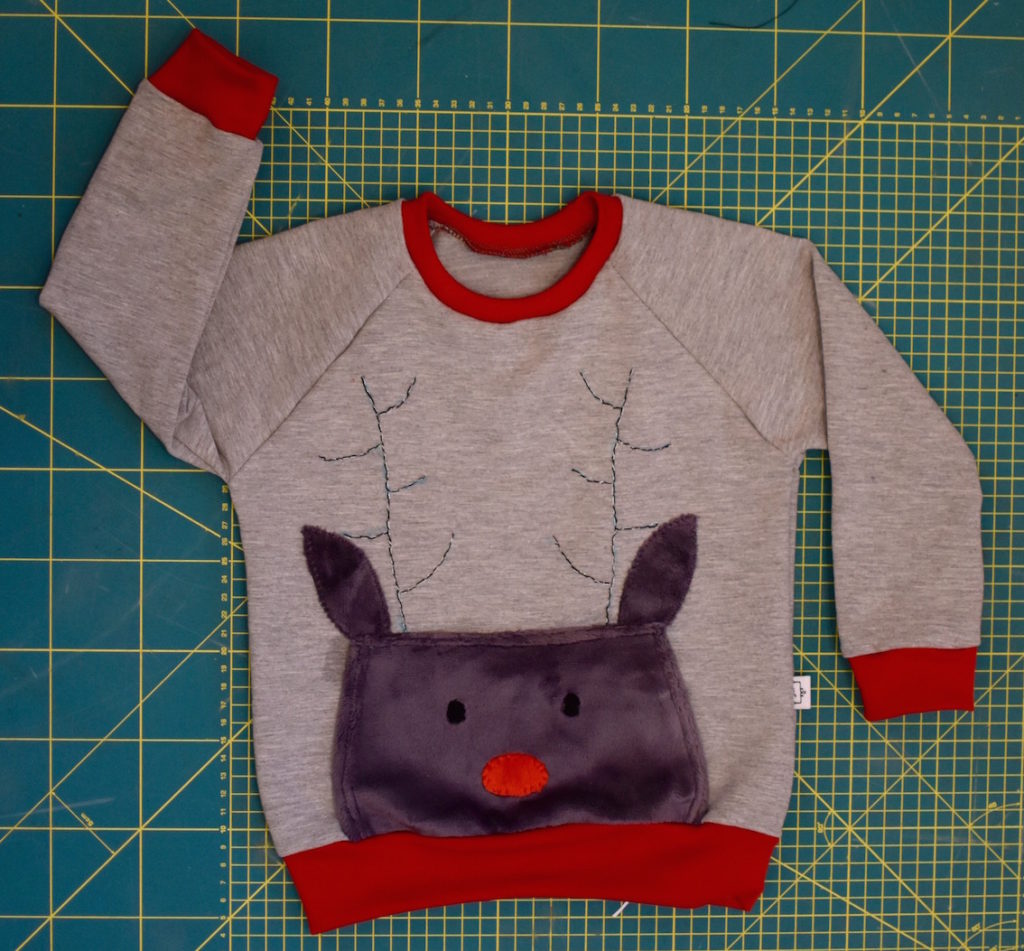
- Fold the top of your pocket 10mmm (3/8″) to the back and press. Pin your pocket in place making sure it covers the bottom of your antlers and ears. Sew along the top using a twin needle. Baste along the bottom if you wish, but it will be caught in place when attaching your bottom cuff.
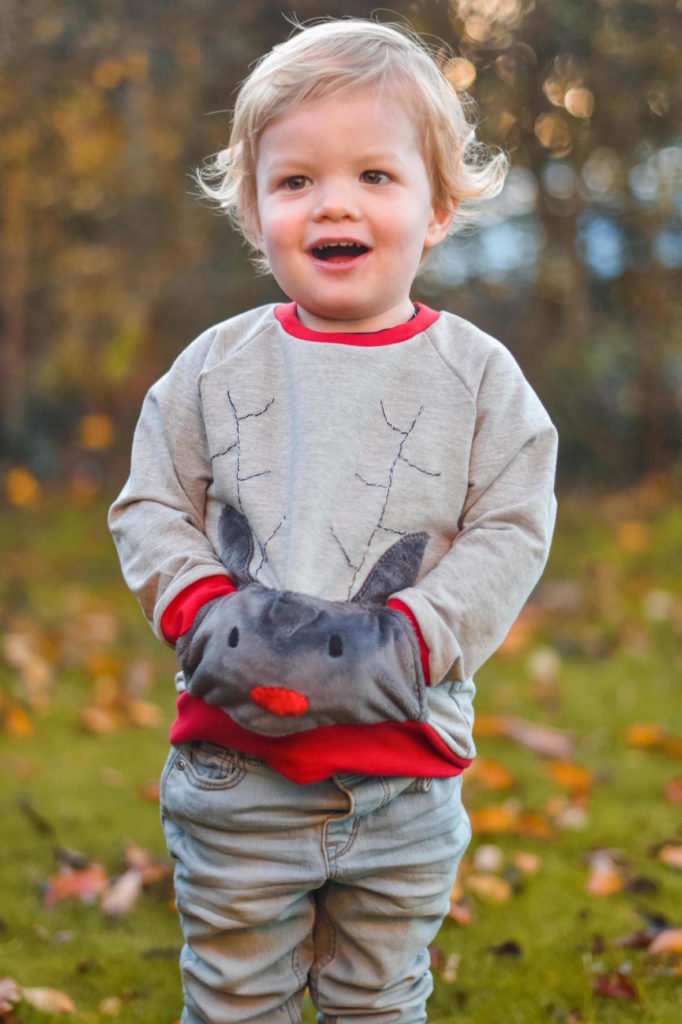
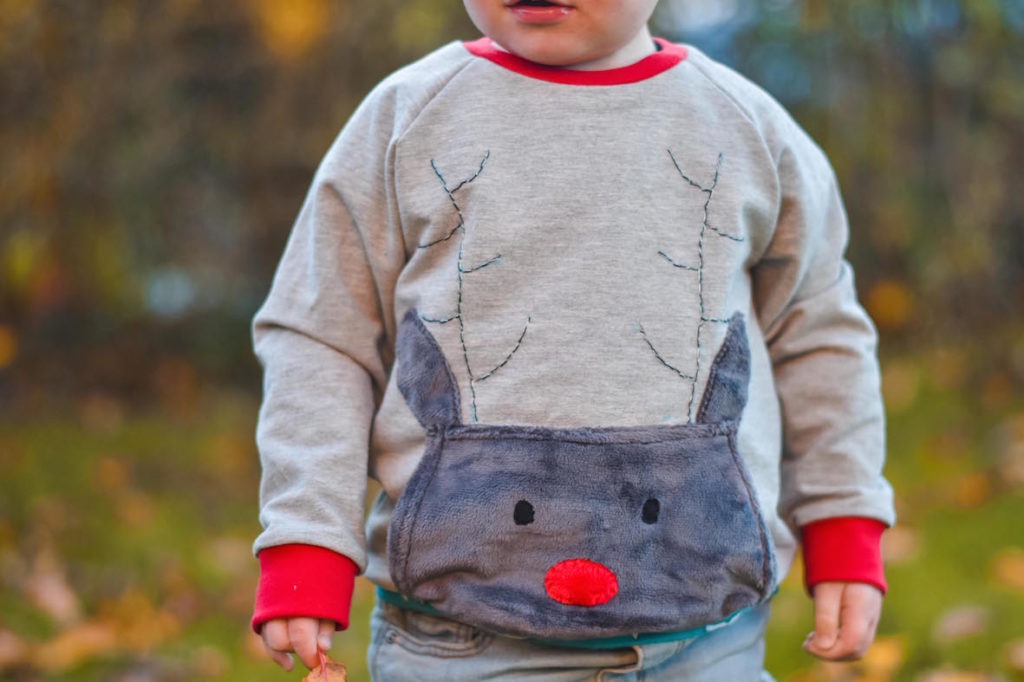
Sewing the pocket was far easier than trying to persuade Charlie to keep his hands out of the pocket while I took photographs!!
Leave a Reply