
How To Use Copy Shop Printing
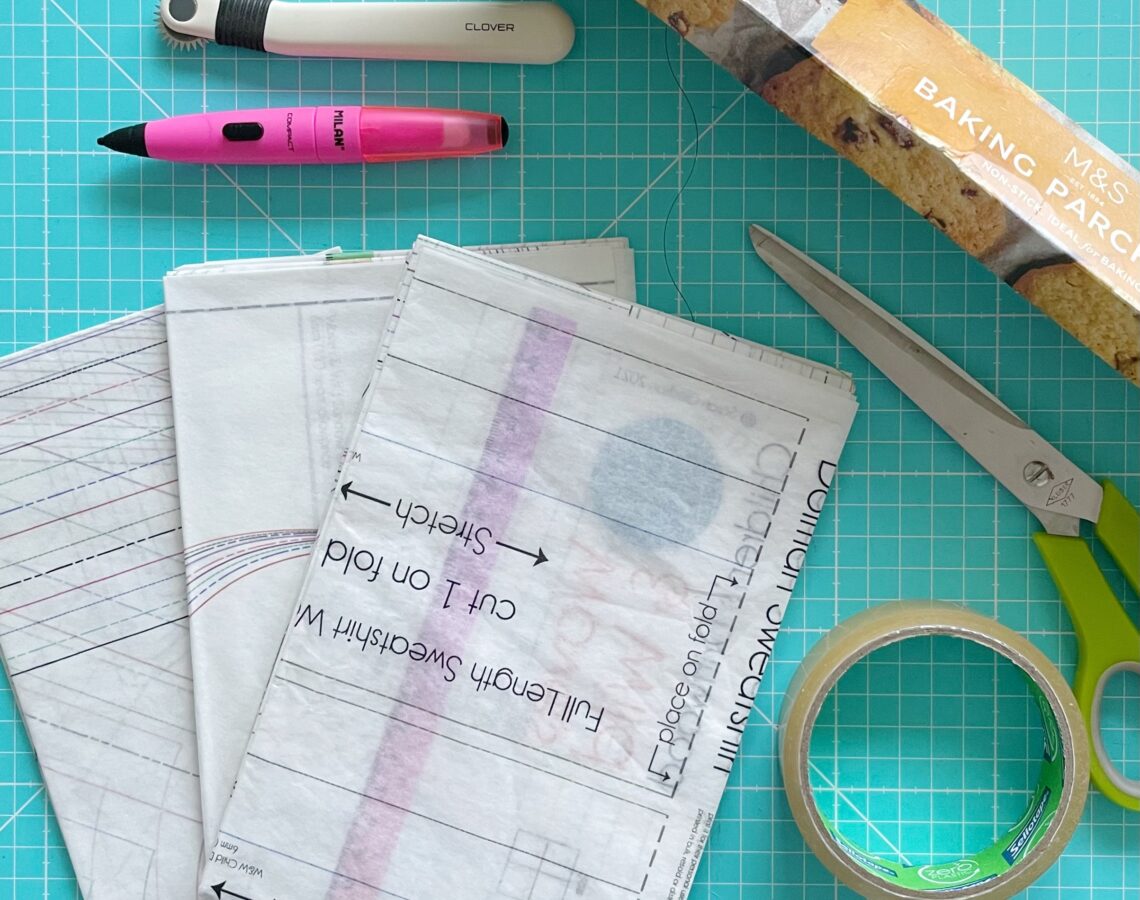
Print at home, copy shop and projector are the three different printing options that come with all Waves & Wild patterns. There’s already been a blog post about “print at home” that includes different ways to put together your print at home pages and some extra tips to avoid unnecessary printing.
So that means next on the list is “copy shop”. Copy shop printing means printing on large-scale paper sheets (usually A0 or A1) which is often done at printing businesses or ordered online. One of the main reasons people choose copy shop over the other options is that it avoids having to stick lots of sheets together…which, honestly, is a big bonus. However, unless you’ve got a large-scale printer at home, one of the biggest downsides of copy shop printing is that you have to wait for it to arrive in the post or you have to go down to a copy shop place and wait for it to be done. Either way, the printing stage isn’t as instant as printing at home.
Avoiding lots of copy shop copies
The price of printing pattern pieces on large-scale paper varies but it shouldn’t be too expensive. The average is about £1.50 (UK) or $5 (Australia) so if you’ve been quoted a lot more than this then I’d keep looking. No matter what the price, you probably don’t want to order lots of copy shop copies of the same pattern. But why would anyone consider doing that I hear you ask. If you are confident you only need one size of a pattern then, of course, you could cut out your one copy shop print. However it’s much more likely that you want to use more than one size from a pattern, or you want to at least have the option to use different sizes in the future.
The best solution is to trace multiple versions from one set of copy shop printing and cut out the traced versions, saving your copy shop printing for future uses. There are lots of different ways to trace from large-scape printed patterns:
Tracing paper
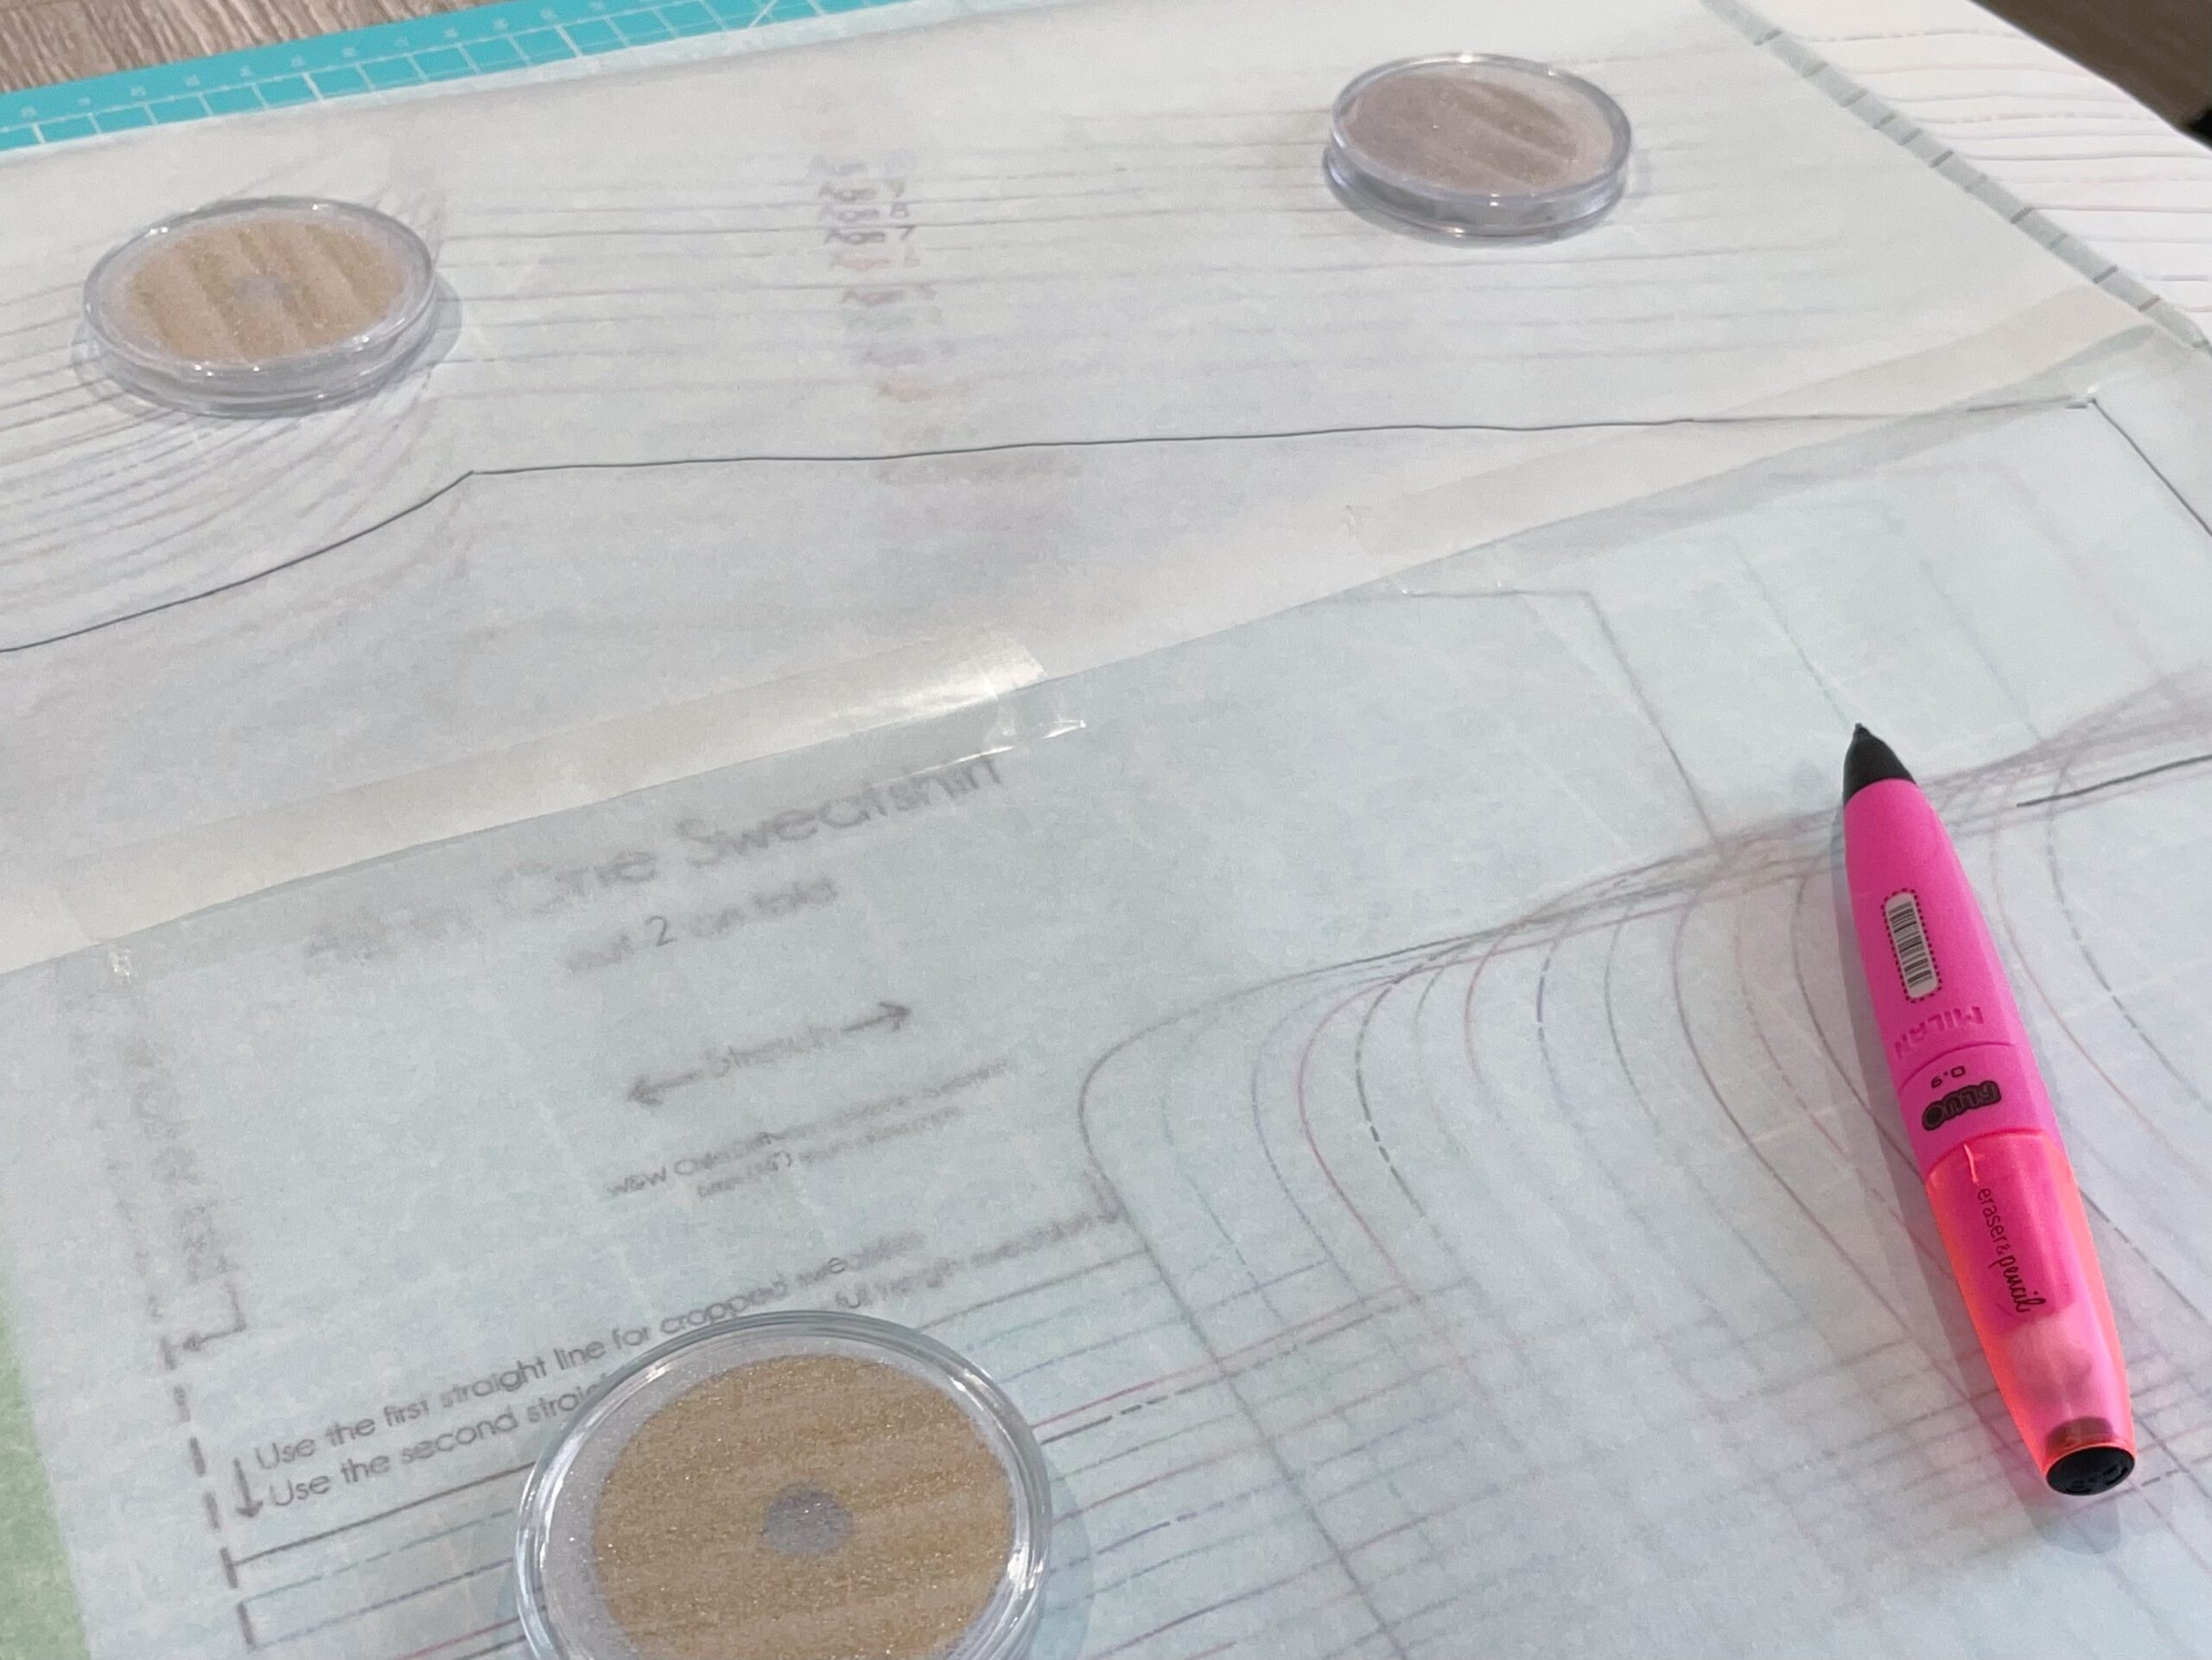
Just like tracing paper you might have used in art class, this see-through paper is perfect for tracing the details of pattern pieces. Simply place your tracing paper over the copy shop print and carefully draw (a pencil usually works best) over the lines and markings you need. Then cut out as usual. Tracing paper is available in rolls. I recommend getting the tallest you can store so you can avoid having to stick tracing paper sheets together.
Baking paper
Baking paper (also known as parchment paper and grease-proof paper) can be used in very much the same way as tracing paper. It’s probably not quite as easy to see through but it’s still easy enough to see clearly printed lines. It’s most commonly sold on a roll that’s a little wider than an A4 sheet of paper so this means you’re likely to need to tape some pieces together (depending on the pattern/size you are tracing). If I had to choose between the two, tracing paper is a better option but baking paper could be more ready available to you, and perhaps even already in the house.
Large-scale paper
This could be a roll of A0 paper or A0 sheets (like the ones that have been used for your copy shop printed pattern), or even a flip-chart pad. As this is probably a more regular weight, white paper it will be more difficult to see through. Create yourself a large-scale light box by using a window to help you see and trace your pattern pieces more easily.
Swedish tracing paper
Swedish tracing paper is a special kind of soft and translucent paper. It’s brilliant for pattern pieces and garment making because it is more durable and more tear resistant than regular paper, it is easy to see through, and it usually comes on wide rolls. Plus it is stitchable so you can use it to test your sizing and make toiles.
Reverse tracing
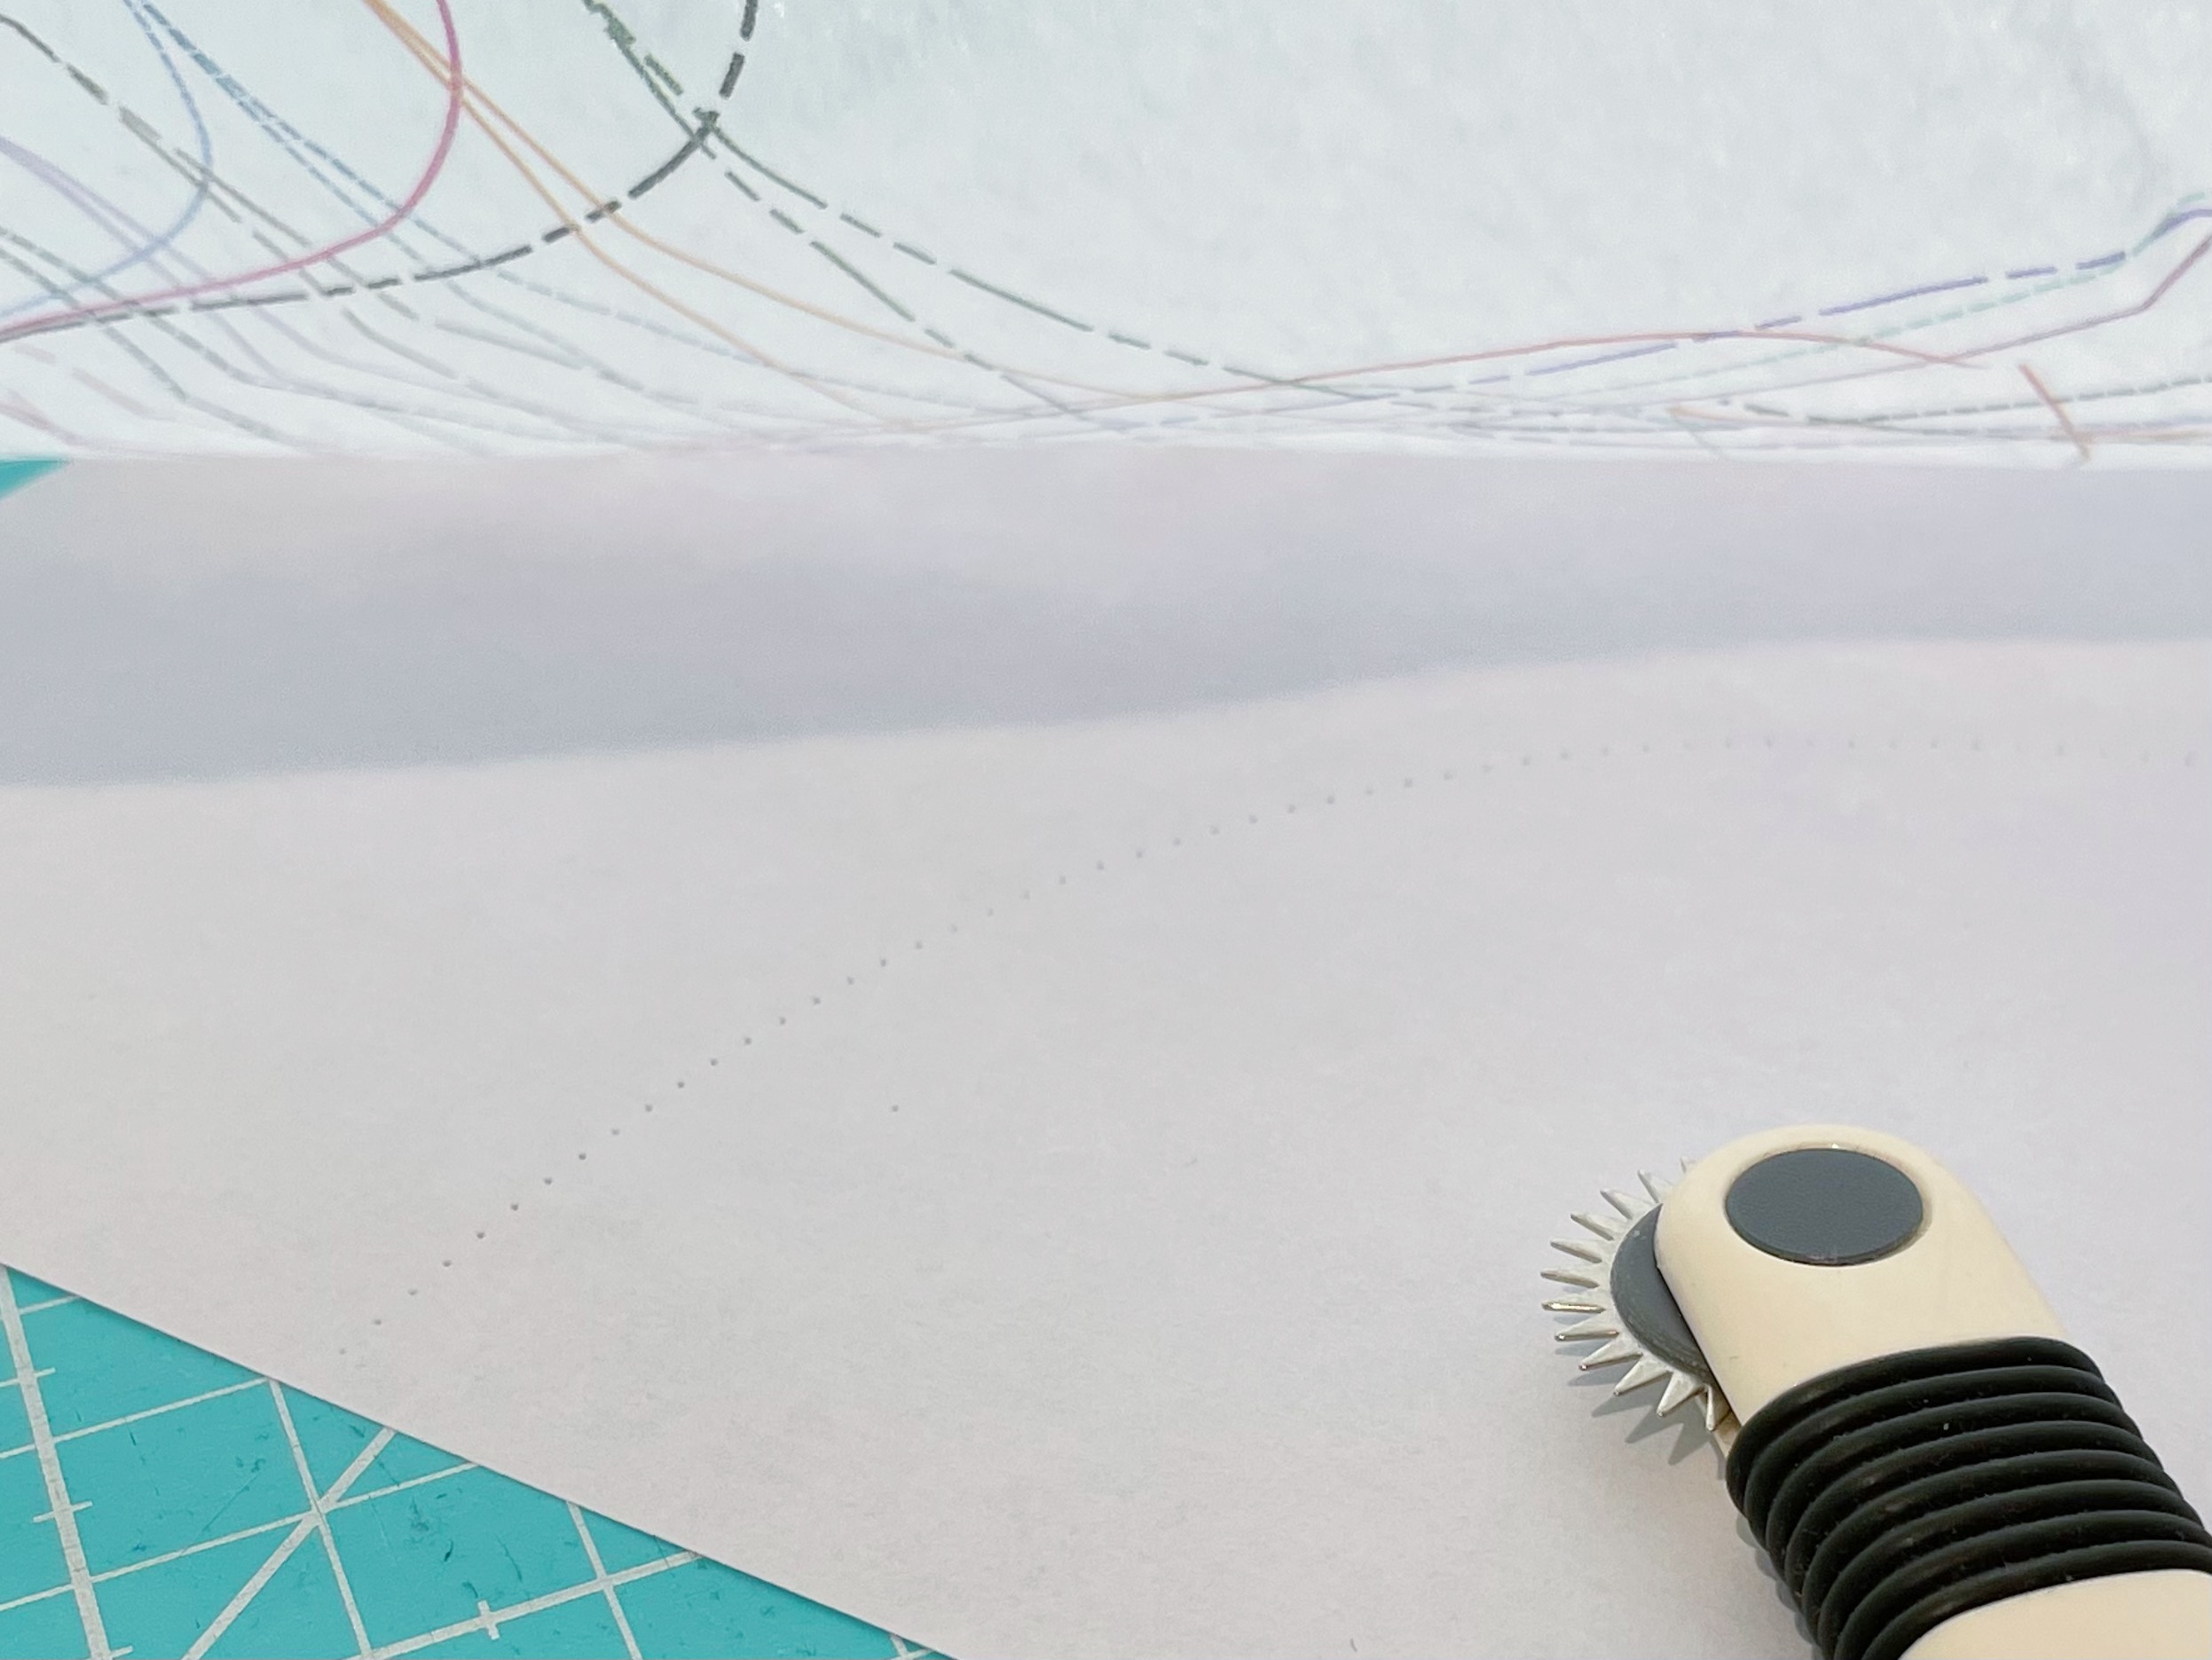
If all you have is non-translucent paper and you don’t have a big enough window to create a DIY light box or don’t want to trace with the pattern upright then you can reverse trace instead. Place the plain paper on your working surface then put the copy shop printing over the top. Trace over all the lines and guides using a tracing wheel and it will create indented dots on the paper underneath; to make it even easier to see and cut out, draw over the indented dot lines with a pencil.
Extra tips
- Weigh down or secure (with washi tape) your papers so they don’t move and cause the tracing to become inaccurate.
- Make sure to transfer onto the traced pieces ALL useful information like pattern name, size, specific piece labels, extra lines and labels (e.g. sleeve length options), fabric grains, notches etc.
- Store the traced pattern pieces with the original copy shop prints so you don’t accidentally trace the same size twice.
Do you have a printing company you would recommend for A0 pattern printing? Please comment below with the company AND your country so readers can find somewhere suitable for them.
I’ve used Megan Nielsen in Western Australia a couple of times, I also bought a set if fine tio markers to trace the size i want & i usually get 4 or5 done at a time to save on shipping costs which is around $9.95, that makes it more cost effective i get black & white copies which cost $3 each & i think color is $5 per copy.
I just looked back at my last order, was for 9 patterns with shipping $13 total of $47.65
If you email her at hello@megannielsen.com she will give you instructions on how to place your order.
Prints@ Clc Essex are great for printing ao patterns. Fast delivery and very helpful
Way back in the 1980’s I went along to classes to learn about sewing with knit fabrics….
We were told to trace patterns onto a thin Vilene interfacing. I still have some of those early patterns and I still do this with various patterns today. They are much more durable than paper and you can avoid having to piece things together.
I have recently started to use CLC in Essex UK. They were brilliant. I wasn’t sure what to expect but sent my pdf of the Kinjarling dress and I had the hard copy 3 days later! Very impressed. The cost was £1.50 per sheet and free second class postage. Would highly recommend.
Fabulosew in UK are amazing and print on proper pattern paper.
I use two companies I would recommend in England
Fabulosew and Flamingo fabrics , both very quick return , great service , and not too expensive . Little legs fabrics also do printing , although I haven’t tried them yet , their fabric is great and their customer service is good for fabrics , so I assume good for printing as well! Can’t begin to think about sticking patterns together when fir a couple of quid someone else will sort it 🤣Happy sewing
I highly recommend CLC Essex., very helpful, swift delivery and quality printing.
I’m using up some very basic shower curtains to trace my patterns. Not the most environmentally friendly, but I had them & they work nicely. I’ve also seen people mention the ‘disposable’ table cloths or therapists couch roll as good options.
Tabitha at Kwaint Threads in Western Australia provides online ordering of colour or black and white AO printing. Delivery options include postage or contact free collection. Prompt response and great service.
I use Little Legs Fabrics really quick delivery and good quality paper highly recommend
http://www.flamingoprints.co.uk
£1.50 per sheet
Free post with code flamingo 02
Same day post on orders received before 3pm
I have used Patternsy in the UK. They shipped to the US and printed on thinner paper, folded similarly the picture above.
I usually use PDF Plotting in the US. They print on heavy paper, and mail it in rolls.
PSW printing shop in Studley ,Warwickshire is ideal
Plan Make Do in Australia has great service and really good pricing! Shelley does scale-checks on every pattern, too. @planmakedo.com.au on Instagram or hello@planmakedo.com.au
For North American printing, I run Spool and Spindle, a former fabric shop now converted to just a PDF pattern printing shop, based in Ontario, Canada. We charge $4.50 per page and have flat rate shipping to Canada and the US.
spoolandspindle.com