
Top Tips for Organised Sewing
Being organised comes naturally to some people but for many of us it’s something that takes real effort and a little bit of self-restraint. Whether you sew in a dedicated craft room or from the dining room table, keeping your sewing supplies and projects organised and tidy will help you to be a more efficient maker (and I bet there will be fewer silly mistakes too).
No matter where you sew, or how long you have to spend each day/week/month on your projects, these top tips should help you avoid getting into a muddle…
Tip One:
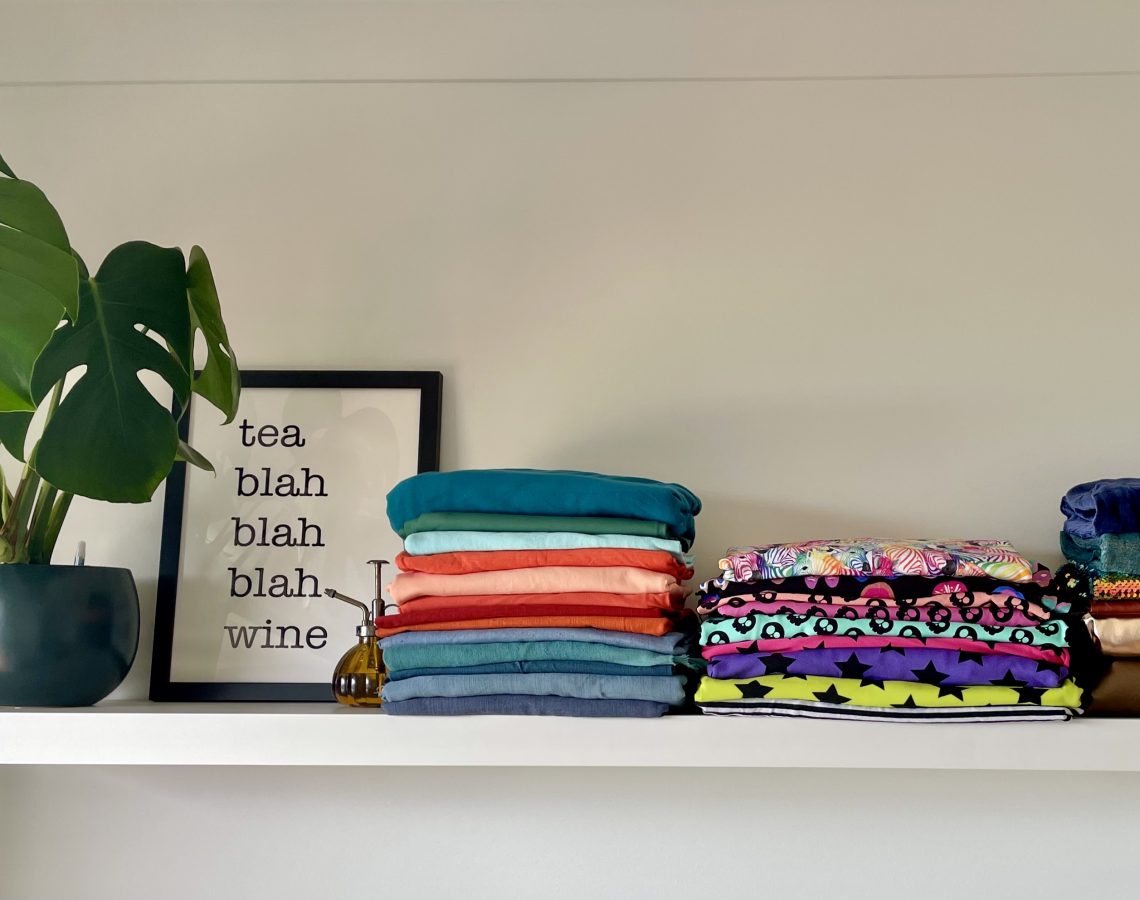
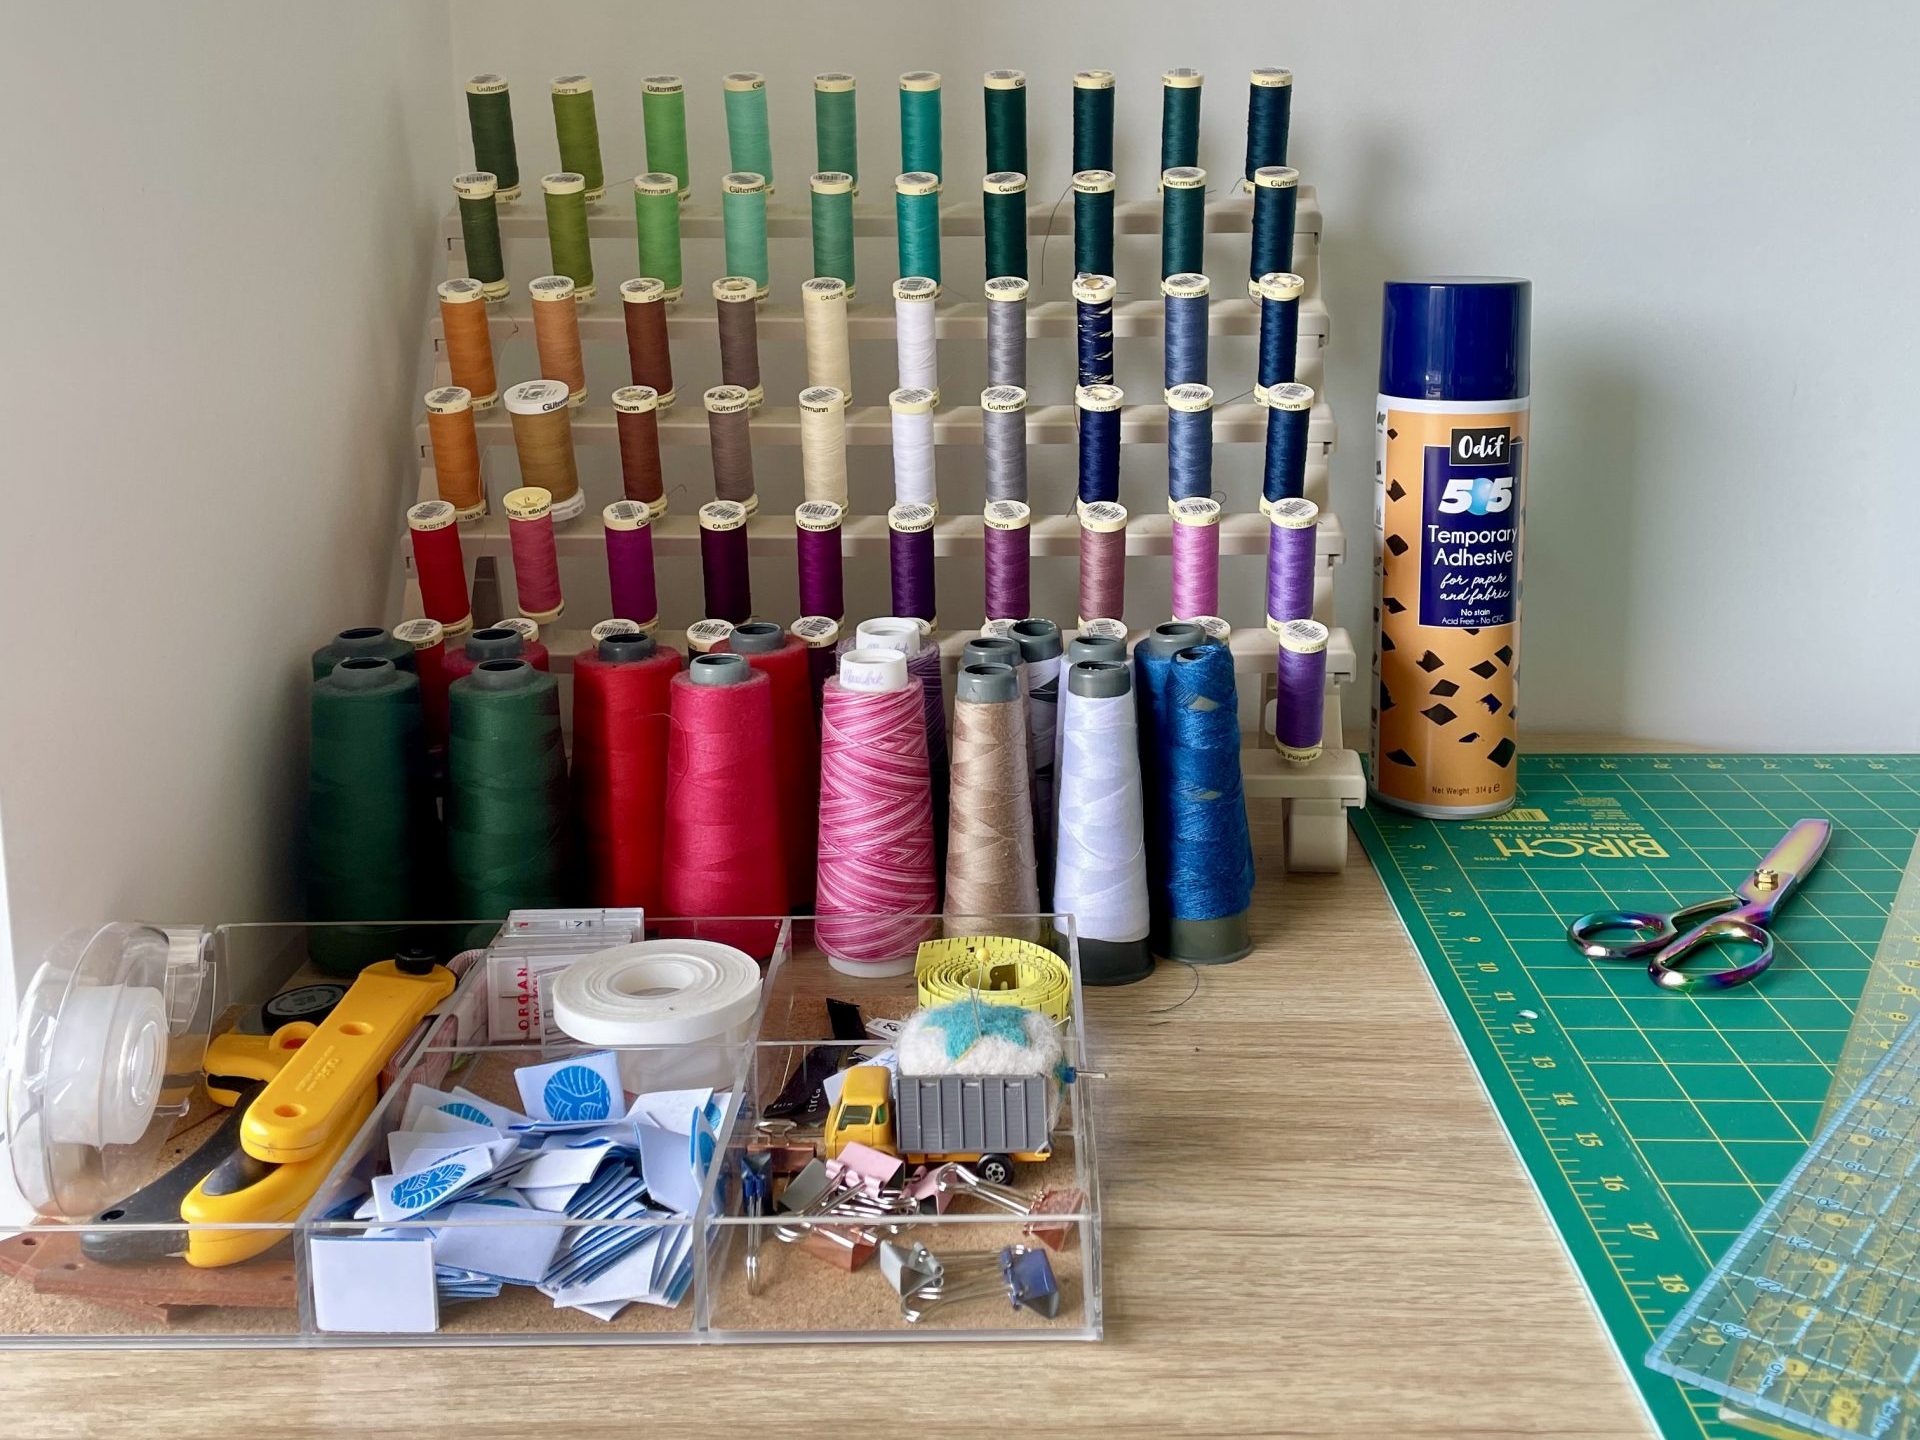
Have a place for everything and try not to have too much stuff. If you make an effort to keep the same things in the same place, especially supplies you use often, it will be quicker and easier to find the tools or supplies you need, plus it is faster to tidying everything away. For example, always put your scissors and rotary cutters in the same drawer, keep your thread on the same shelf, store your fabric in some sort of order (group colours, fabric types, piece sizes…whatever suits you best) and stick with it. Also, when sewing from a space that doubles as something else, be sure to plan the setting up and packing away into your sewing time so you don’t rush and put things back in the wrong place.
Not having too much stuff is much easier said than done! I’m not here to tell you how much you should or shouldn’t have in your sewing stash but if you have a limited amount of storage space then it can easily become overwhelmed with too much stuff, and an out of control stash can lead to you becoming overwhelmed and losing that all important urge to sew…and no one wants that!
Tip Two:
Keep your pattern pieces for each pattern grouped together. There’s nothing worse than getting all set up to cut out all the pattern pieces you need for a hoodie and then not being about to find the hood piece. Once you have all your paper pieces cut out, keep then together with a paper clip or a sewing clip or even a pin so that different patterns don’t get jumbled together.
Tip Three:
If you’re using a t-shirt or sweatshirt pattern and want to save some paper you can print the main body piece once and simply cut off (and replace) the neckline piece when cutting your front and back body pieces. But this little curved patter piece is that type to go missing, or get mixed in with another pattern. Use some washi-tape (a paper-based tape which is easy to remove from paper pattern pieces without damaging them) to tape these “extra” pieces to the main pattern pieces so they don’t become separated. They also act as a great reminder that you need to cut the body piece out with two different necklines!
Tip Four:
The fabric pieces you have cut out for a garment may all look very different and it is obvious which is which part in the instructions, but sometimes this isn’t the case and you have several pieces that look very similar. For example, wrist and ankle cuffs are usually different sizes and might not look different at quick glance. If you label pieces like this (just use a scrap of paper and pin/clip it to the fabric) then when you come to construct the garment you’ll use the correct pieces first time and will avoid using the dreaded seam ripper. This is also a useful thing to do if you need to know the difference between the front and back of a piece, like raglan sleeves.
Tip Five:
If you like to cut out the fabric for more than one pattern and/or size at once (this is a great way to sew more efficiently) it can be easy to get these mixed up. I’ve certainly sewn an age 3 sleeve to an age 7 sweatshirt body more times than I’d like to count! Pinning or clipping all the fabric pieces for individual patterns or sizes together will help to avoid these sorts off mix-ups.
Great ideas here, I think I use them all now. Took a long time to get to here though…. further to tip 2, I’ve found when you cut out all the pieces of one garment I put them together in a stackable basket. And if I cut more than one garment on a day each garment’s pieces go into separate baskets. And when I’ve sewn them the baskets stack together for next cutting out day
Love the tip for washi tape and the interchangeable necklines! When creating giant clothes that will definitely save paper!
Thanks for the great tips! I am loving that truck pin cushion!
I find brown paper lunchbags ideal for keeping the pattern pieces in, I use a small picture of the item on the front along with size of garment etc and comments on who I made it for and the date. Helpful when looking back!
What a great idea Joyce, thanks for shring
Brilliant tips.
I also use one front and back piece but cut slashes and fold the extra back piece down…