
Start Where You Are. Use What You Have. Do What You Can

This is a post for beginners.
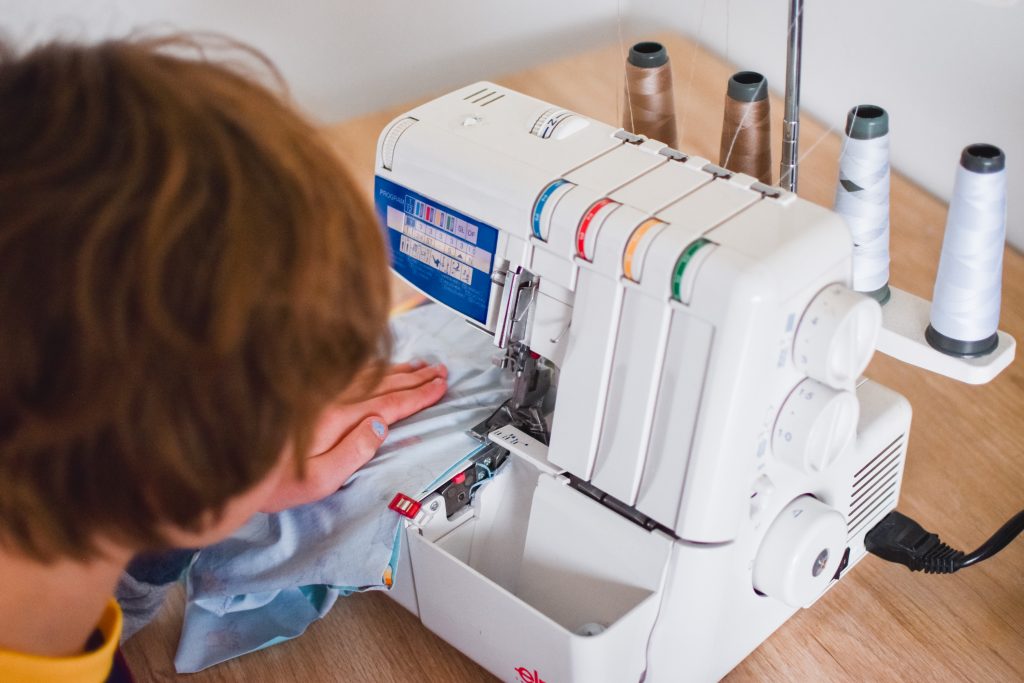
This week Jack made his first t-shirt. The last time he used a sewing machine was 4 years and until yesterday he didn’t even know what an overlocker was. He did an amazing job and has a fabulous new t-shirt that he’s very proud of, but the whole process highlighted some things to me that I would like to share with you to help you succeed.
1. Choose your pattern wisely.
Jack made an Explorer Raglan. Raglans are particularly beginner-friendly because they have fewer curves than tops with a traditional sleeve. The Explorer is mostly straight lines. It’s easier to steer something straight than it is to steer around curves. Another great option would be the Driftwood Dolman.
2. Label your fabric.
I used erasable pen to write ‘front body’, ‘back body’, ‘sleeve front’ and ‘sleeve back’ on the reverse side of the fabric. The Explorer is simple to sew because it’s almost all straight lines, but it is also easy to confuse all those straight lines and sew the wrong pieces together (ask me how I know…). The labels meant Jack could put the pattern together himself.
3. Go slow.
This applies to the literal speed of your machine and also the speed of your whole project.
If you have speed control on your machine then dial it down. It’s ok to use the slowest speed on there. If you don’t have speed control then practise on some scrap fabric until you are happy with your control of the foot pedal.
Take your time over everything and stop when you get tired. There is no point in rushing to complete it all in one sitting. This is a new skill to you and will use huge amounts of mental energy. I may be able to churn out tees and leggings for hours on end but that’s because I have put in thousands of hours practise and no longer require the same concentration as I did when I first started out. Jack was mentally exhausted after four seams and took a break. But he did four seams using an overlocker which was completely new to him – that’s awesome!
4. Utilise any help available to you.
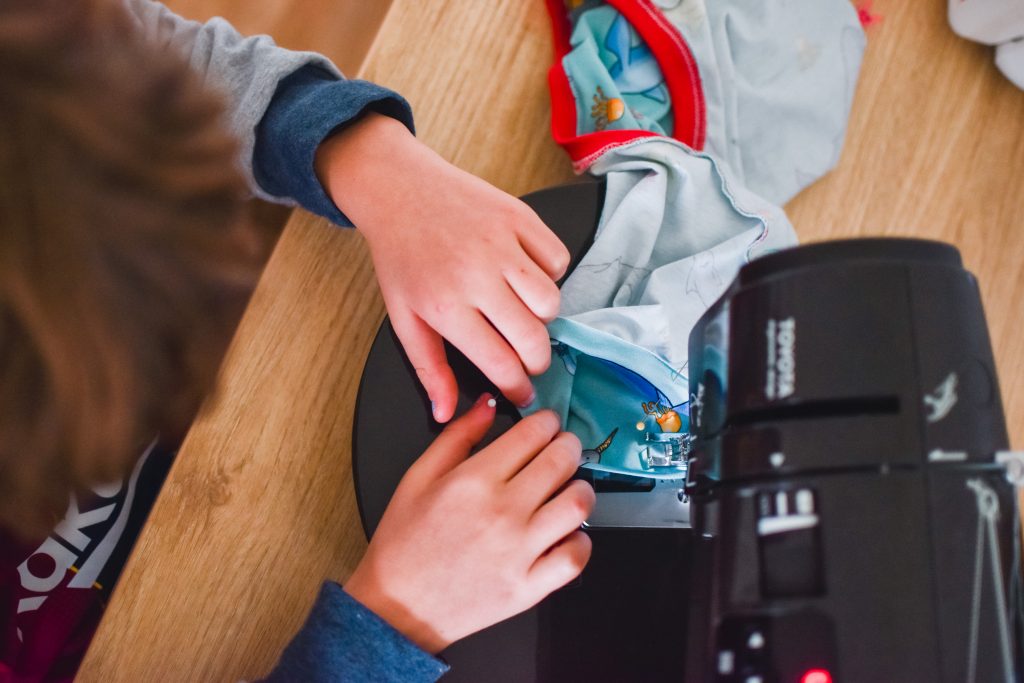
There’s no benefit in struggling through something on your own just for the sake of it. If you have access to help then use it! Jack had me and I did help. I guided his hands through the first two seams on the overlocker before encouraging him to try on his own. The Explorer has a narrow neckband and he wasn’t keen to try to I sewed that part for him. The curved hem option really suits him but is harder to press, so I pressed and he sewed. If it’s your first hem then choose the straight option.
If you don’t have someone physically there to help you then tap into the online world. We have a wonderfully friendly Facebook group that is always available to offer help, tips, encouragement and support.
5. Make sensible choices for your skill level.
I love a contrast topstitch and red topstitching would have looked fabulous on this t-shirt. But it was Jack’s first time sewing a hem and first time using a twin needle so a loud, in your face colour would not have been a wise choice. We chose a subtle blue that blends in with the fabric and disguises the fact that one sleeve hem went on quite a large detour.
Finally: Have realistic expectations.
I say this often because it’s important.
You wouldn’t take up a new sport or start to learn a language and expect to be at a professional standard on day one, so don’t do it with sewing. It’s great to have high standards and goals for your future, but remember you are a beginner and be kind to yourself. Point out all the things you manage to do for the first time or pick out all the areas you have improved on. Think about the areas you want to improve on and remember them next time, but don’t point them out to everyone who pays you a compliment.
Be proud of what you have achieved.
Jack is!

Brilliant advice – not just for beginners. Well done Jack for using an overlocker, that is something I have yet to try – it’s on my shopping list.
Jack – that’s amazing!
I love the phrase that a line of sewing went on a large detour. Dang it. I hate it when those detours happen. I’m better now but last night I still went on a little one. Inner waistband hem.. about 1cm.. ah well. It won’t show or have any impact.